Lisa is Gabrielle's doll. She has visited me many times for spa days and various repairs. Gabrielle takes Lisa on all adventures, and they have gone on many together in the past 6 years. Sometimes I get photos where the two of them are horseback riding, which looks like a lot of fun!
Well, in August I received a message that both, Gabrielle and Lisa, had a little bicycle crash. Gabrielle was healing fine, but Lisa not so much. Her face was torn open and she needed surgery. I got the doll hospital bed ready and received Lisa. She still had a smile in her face, but I could tell that she wasn't feeling her best. Lisa's grandma was also very afraid that with the torn fabric Lisa would loose stuffing when played with.
With the many baths and scrubbings Lisa had received in the past years her skin has worn a little thin, but we decided I'd do my best and patch her up. Gabrielle would love Lisa even with skin patches, there was no question about that. In the past, I had already given the arms another layer of fabric. You can see a picture below where the skin patches are obvious (by the way, that skin patch color is the original skin of Lisa many years ago).
Then Lisa needed another bath and the skin around the patches tore again. You can't see it well on the pictures, but she had quite a few areas that were thin and I was afraid that the skin would not hold up to many more adventures. That really isn't an option! What grandma and I were afraid of is that if I do too many repairs/replacements Lisa would be lost, become unrecognizable. Having experienced this over 20 years ago with my own daughter, I knew the risk.
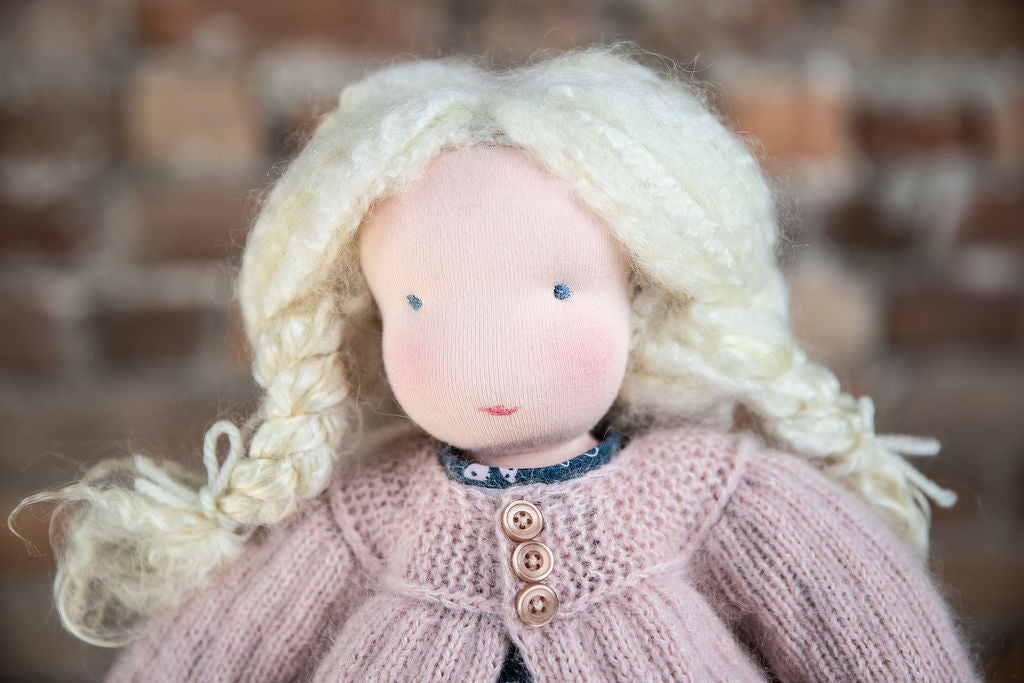
Below you see a before and after and close up of the face. I think she turned out pretty good and the nice thing is that you can still feel the old scars underneath the new skin.
Some more pictures of the damaged areas. You can see that I had already patched up the feet.
Taking a doll apart is very scary and only because I know how I go about making a doll did I dare. No matter when I made a doll in the past, I know exactly which seam went in last. I had to detach the head from the torso so I could cover the neck and the face with the new fabric. I decided to leave the hair untouched (a very important part of Lisa). As you can see in one of the pictures, I only cut a piece of fabric that would meet the hairline.
I also left the eyes untouched underneath the new fabric to be sure I get the new embroidery into the right spot. The lips I had fixed in the past, so I knew I could manage those easily.
I had taken the replacement cover of the arms and was now challenged with hands that were losing wool. When Gabrielle was younger she liked to rub Lisa's hands. I had a new idea. on how to fix this. I needle-felted new woolen hands and sewed new arms out of the skin fabric. I left the hand area open so I could pull the arm into the new fabric. That way I wouldn't have to re-stuff and Lisa's arms would be the same, just with new fabric. With the ladder stitch, I closed the hand area.
I did the same for the legs, this time leaving the feet open. The arms were a little easier because they were not attached to anything. As you can see in the picture the legs are still attached to the torso, even if it is not stuffed.
Sewing all around the legs, arms, and neck.
I prepared the new torso, left the bottom open for the legs. I slid the legs in and pulled the torso fabric as far up as I could.
I couldn't be happier with the result, but the real judge will be Gabrielle. I hope she will see and feel Lisa in this doll as she was for the past 6 years. The only thing I have to do is embroider some mohair yarn over the hairline, bringing the hair a little more into the face. Grandma promised to bring the yarn (always keep a little of the original yarn if you can)