


An introduction to needle-felting
I remember my first encounter with felting needles vividly. I remember being amazed when I used a felting needle the first time—it felt like magic (or I like to say “it felts like magic)

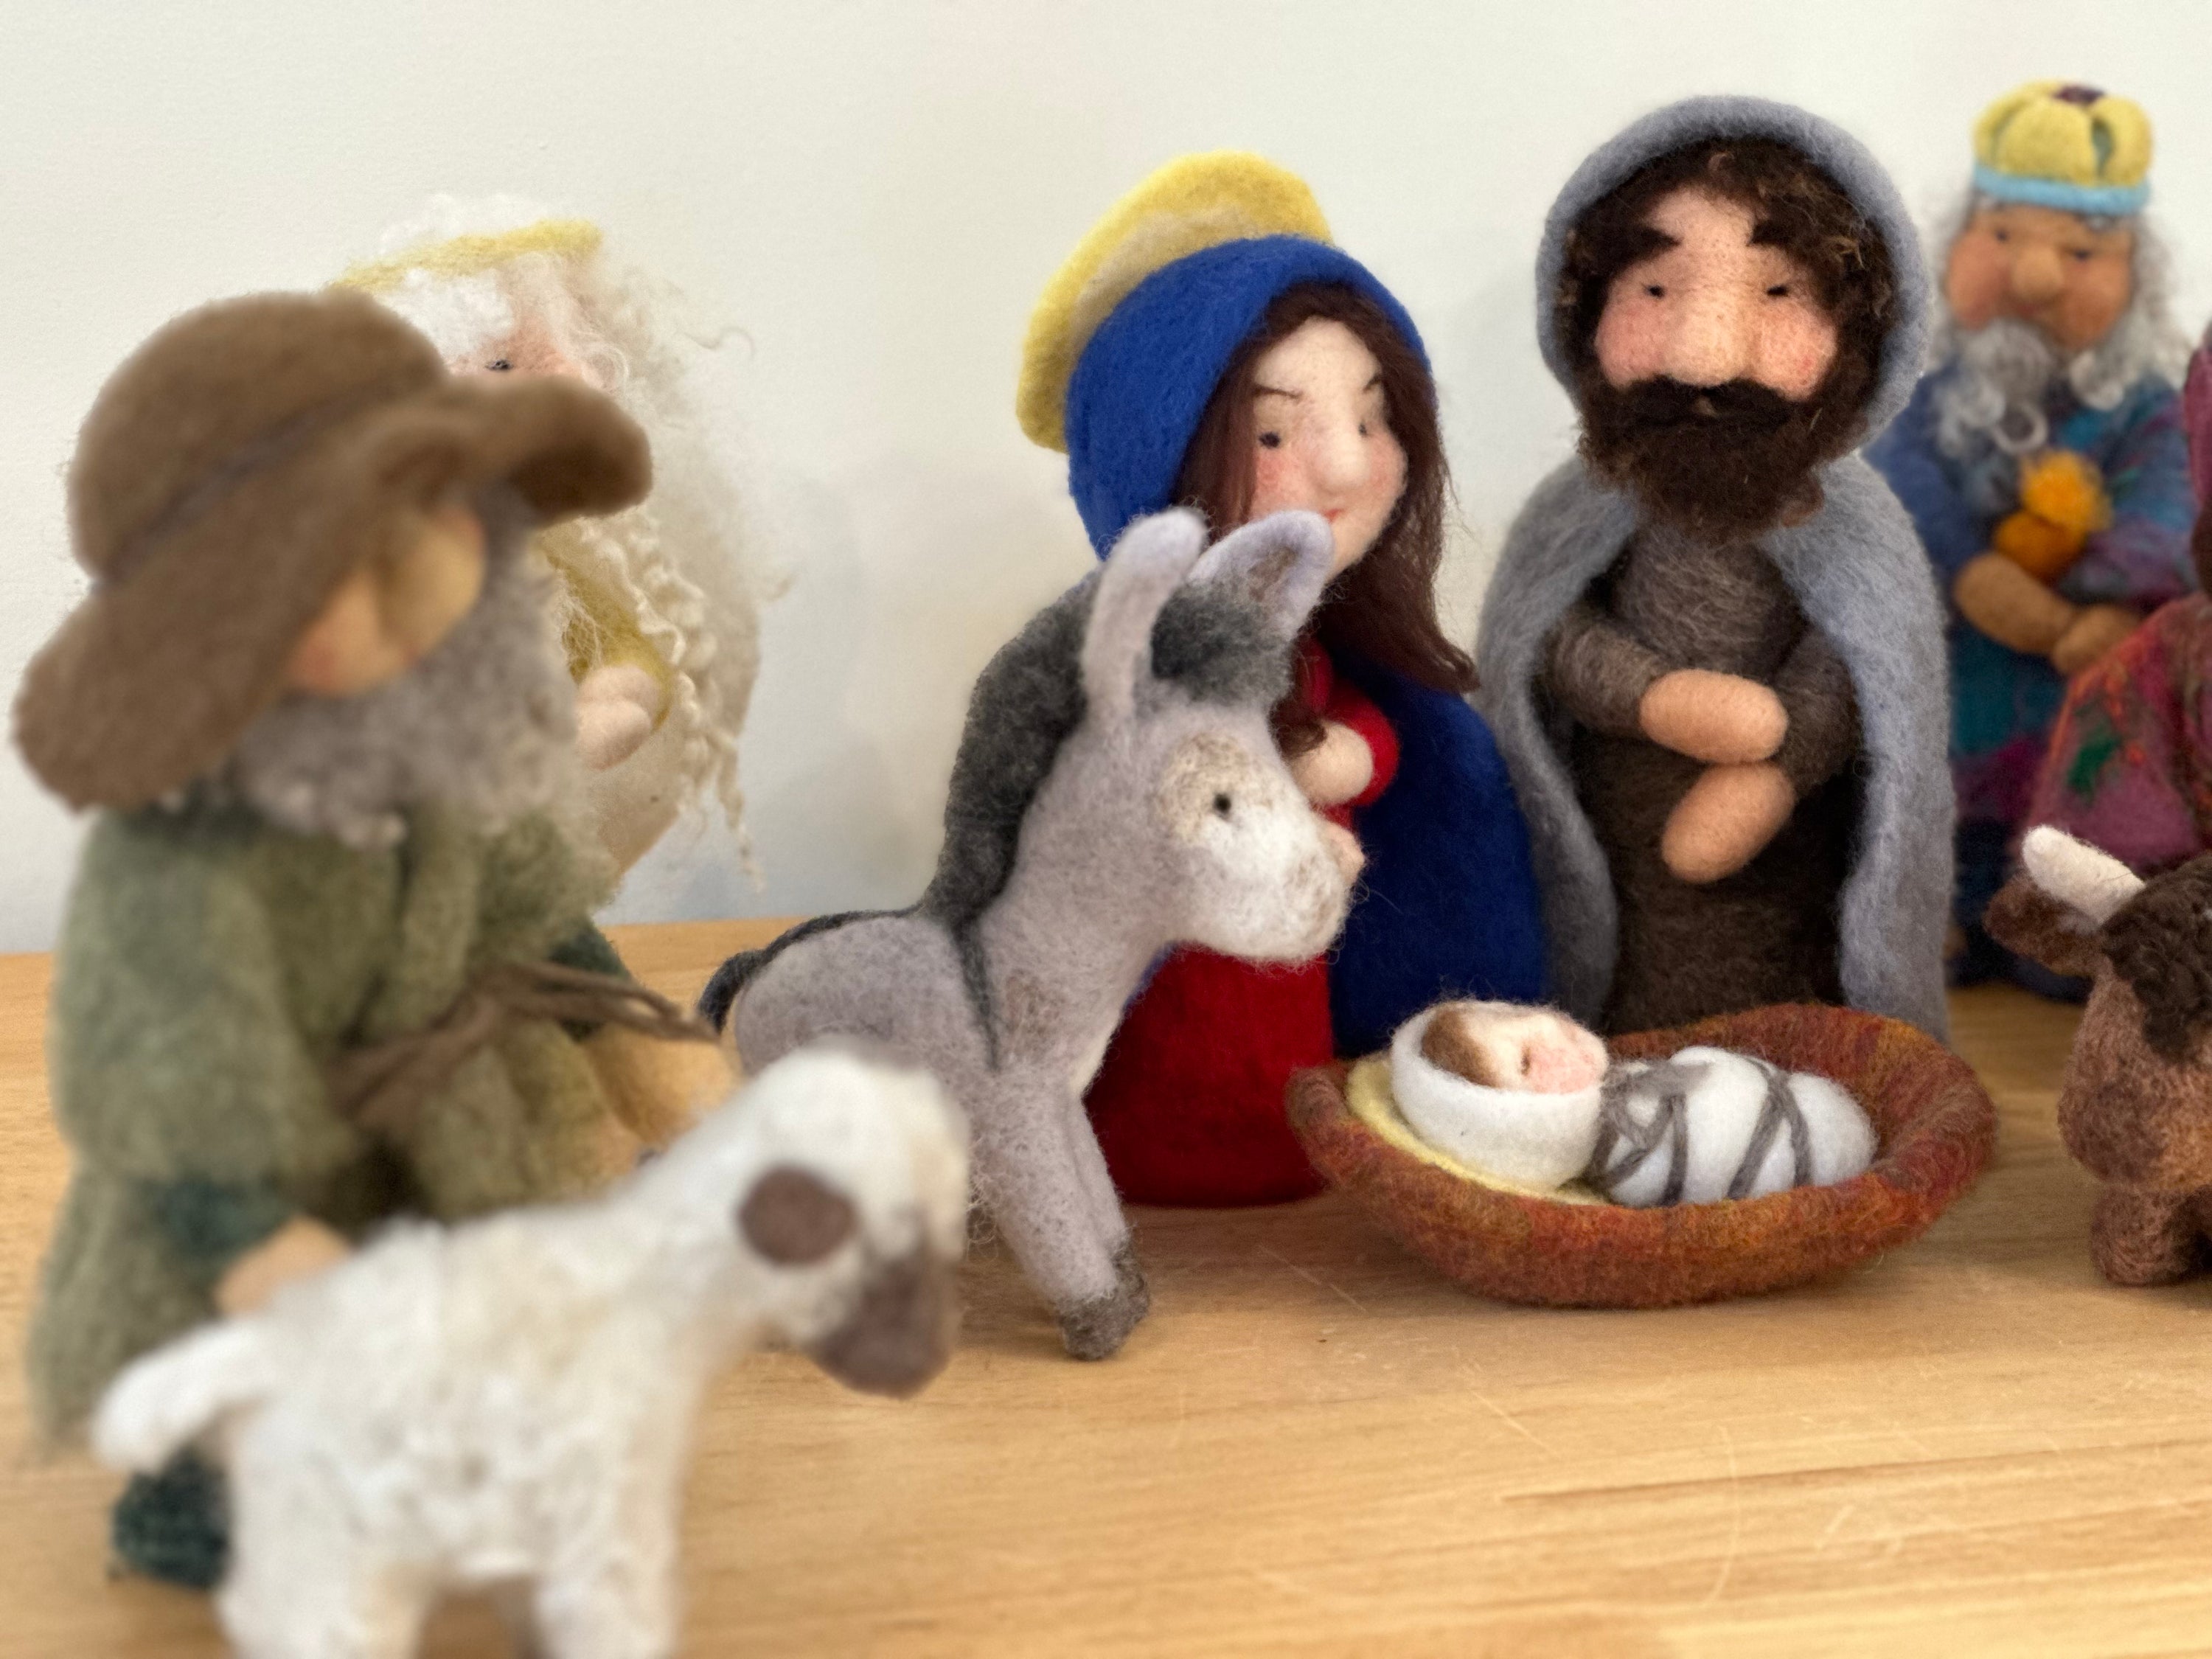
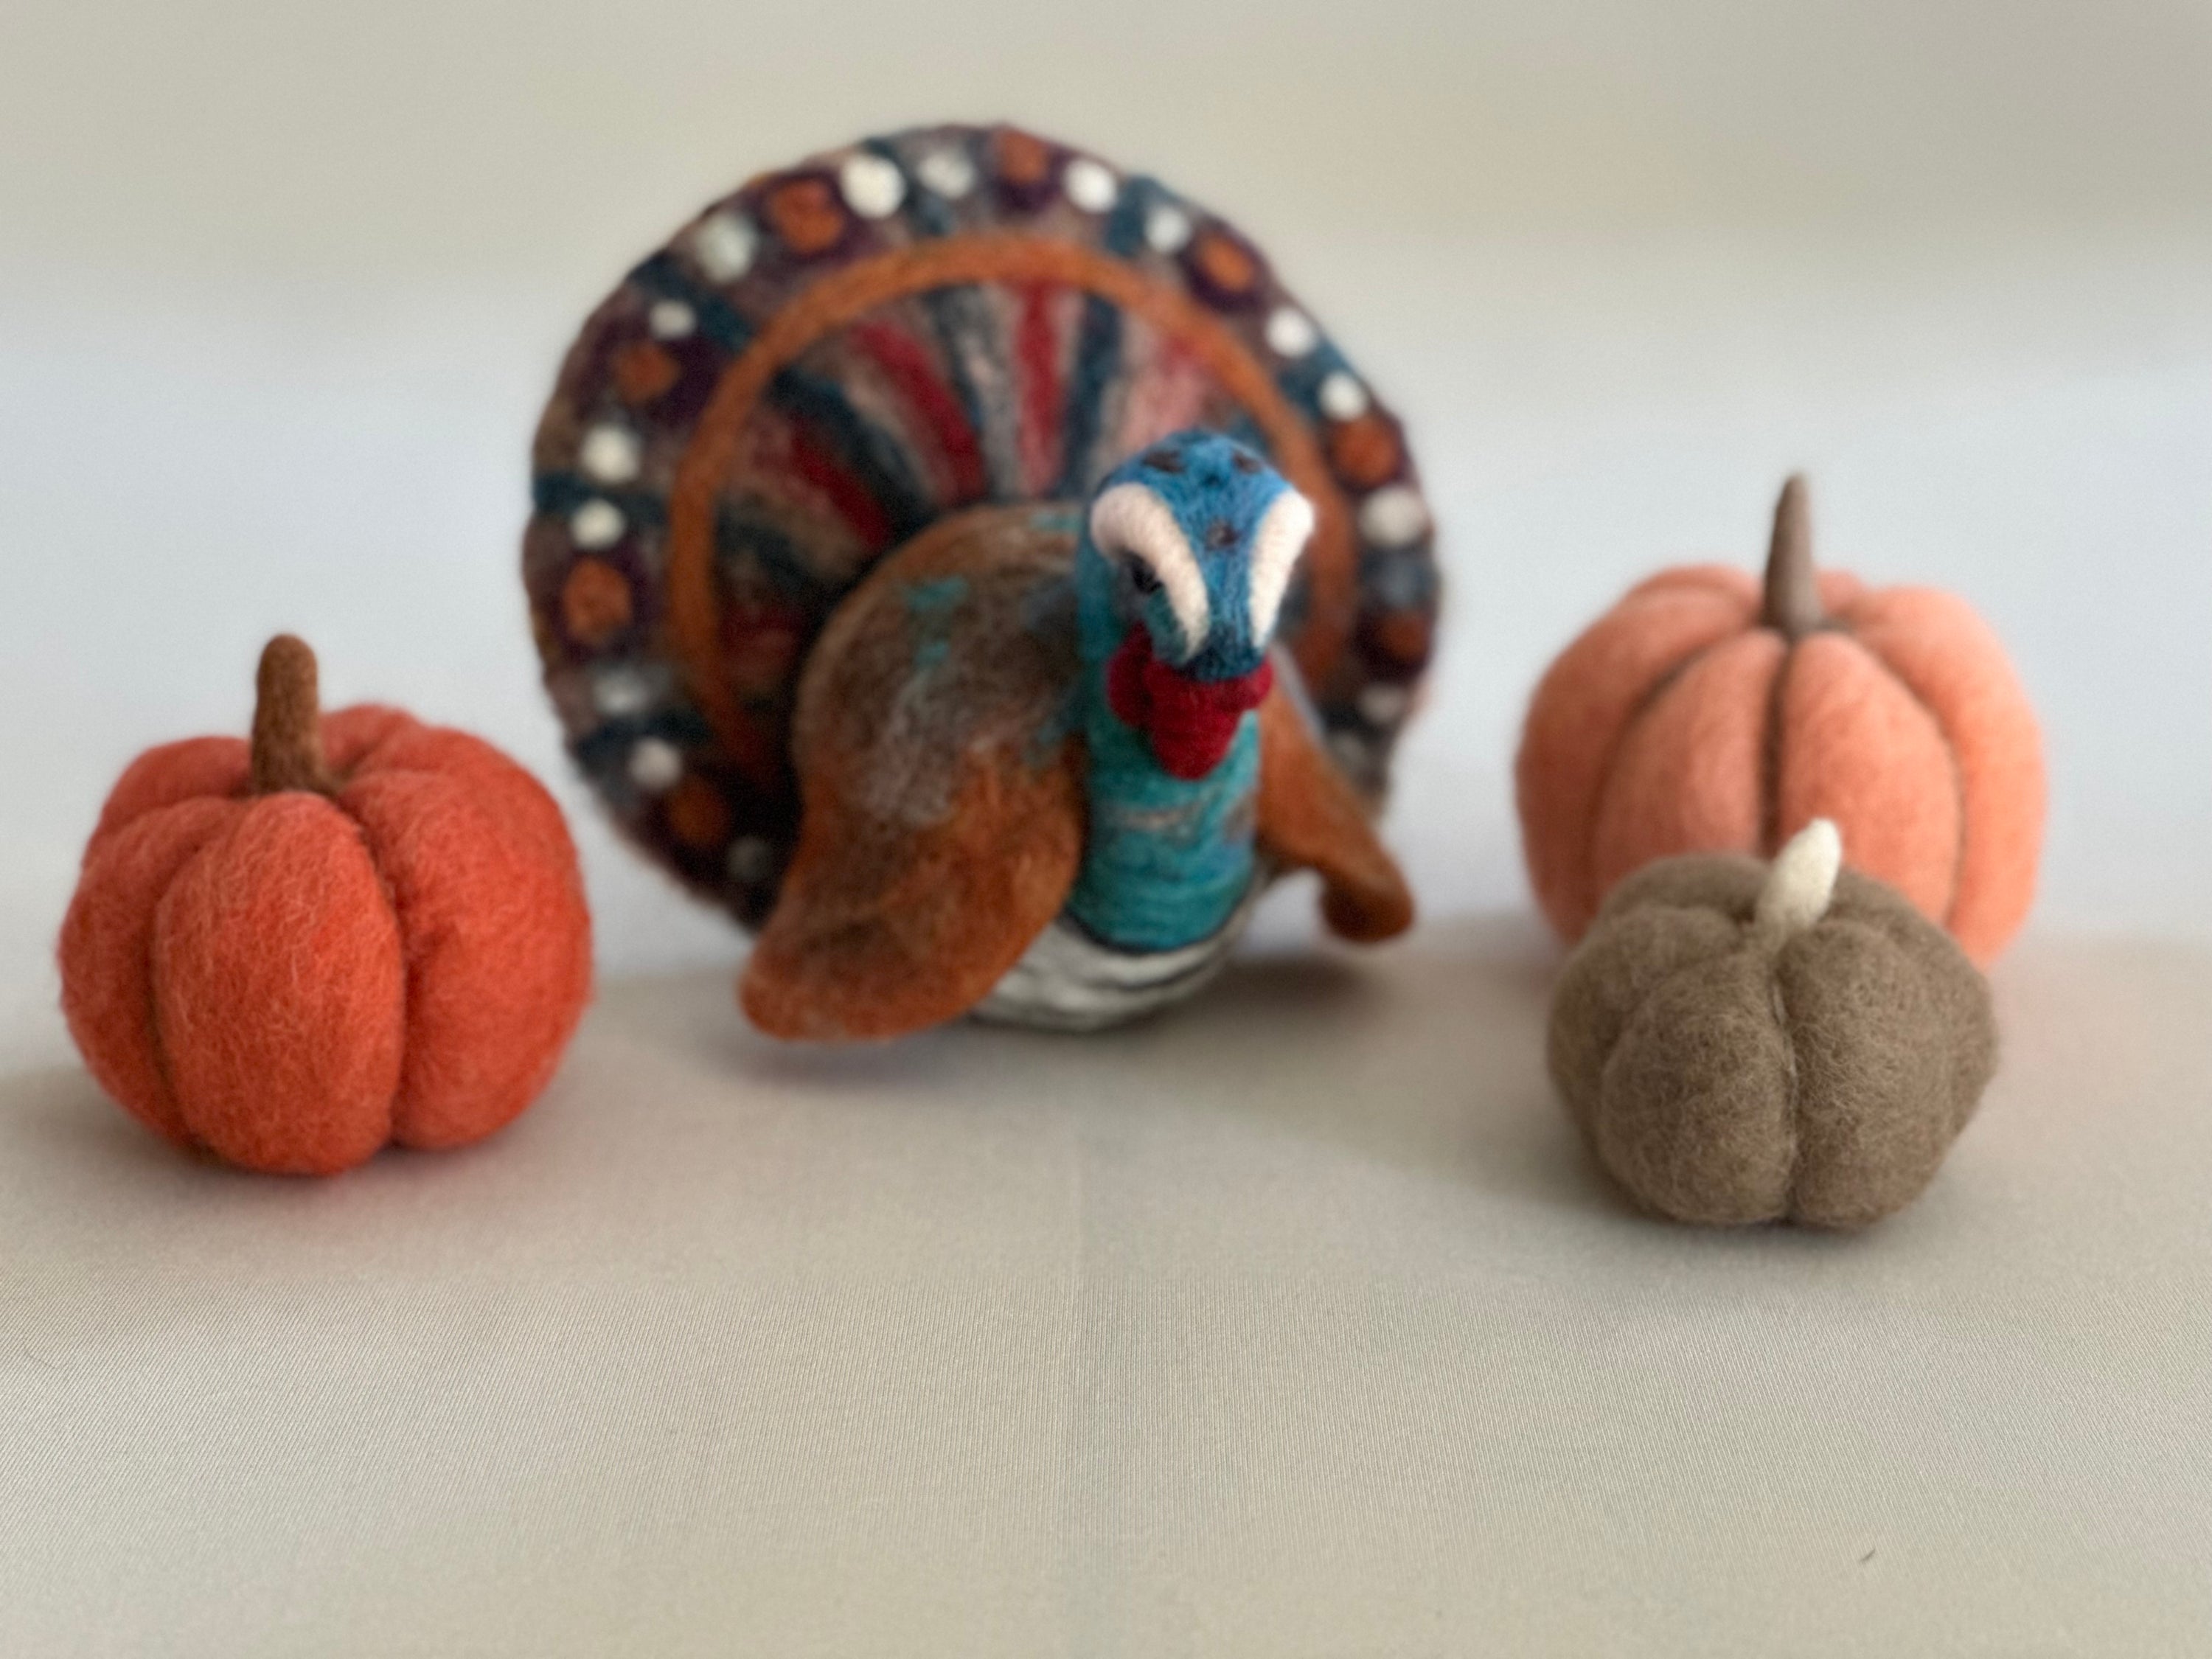
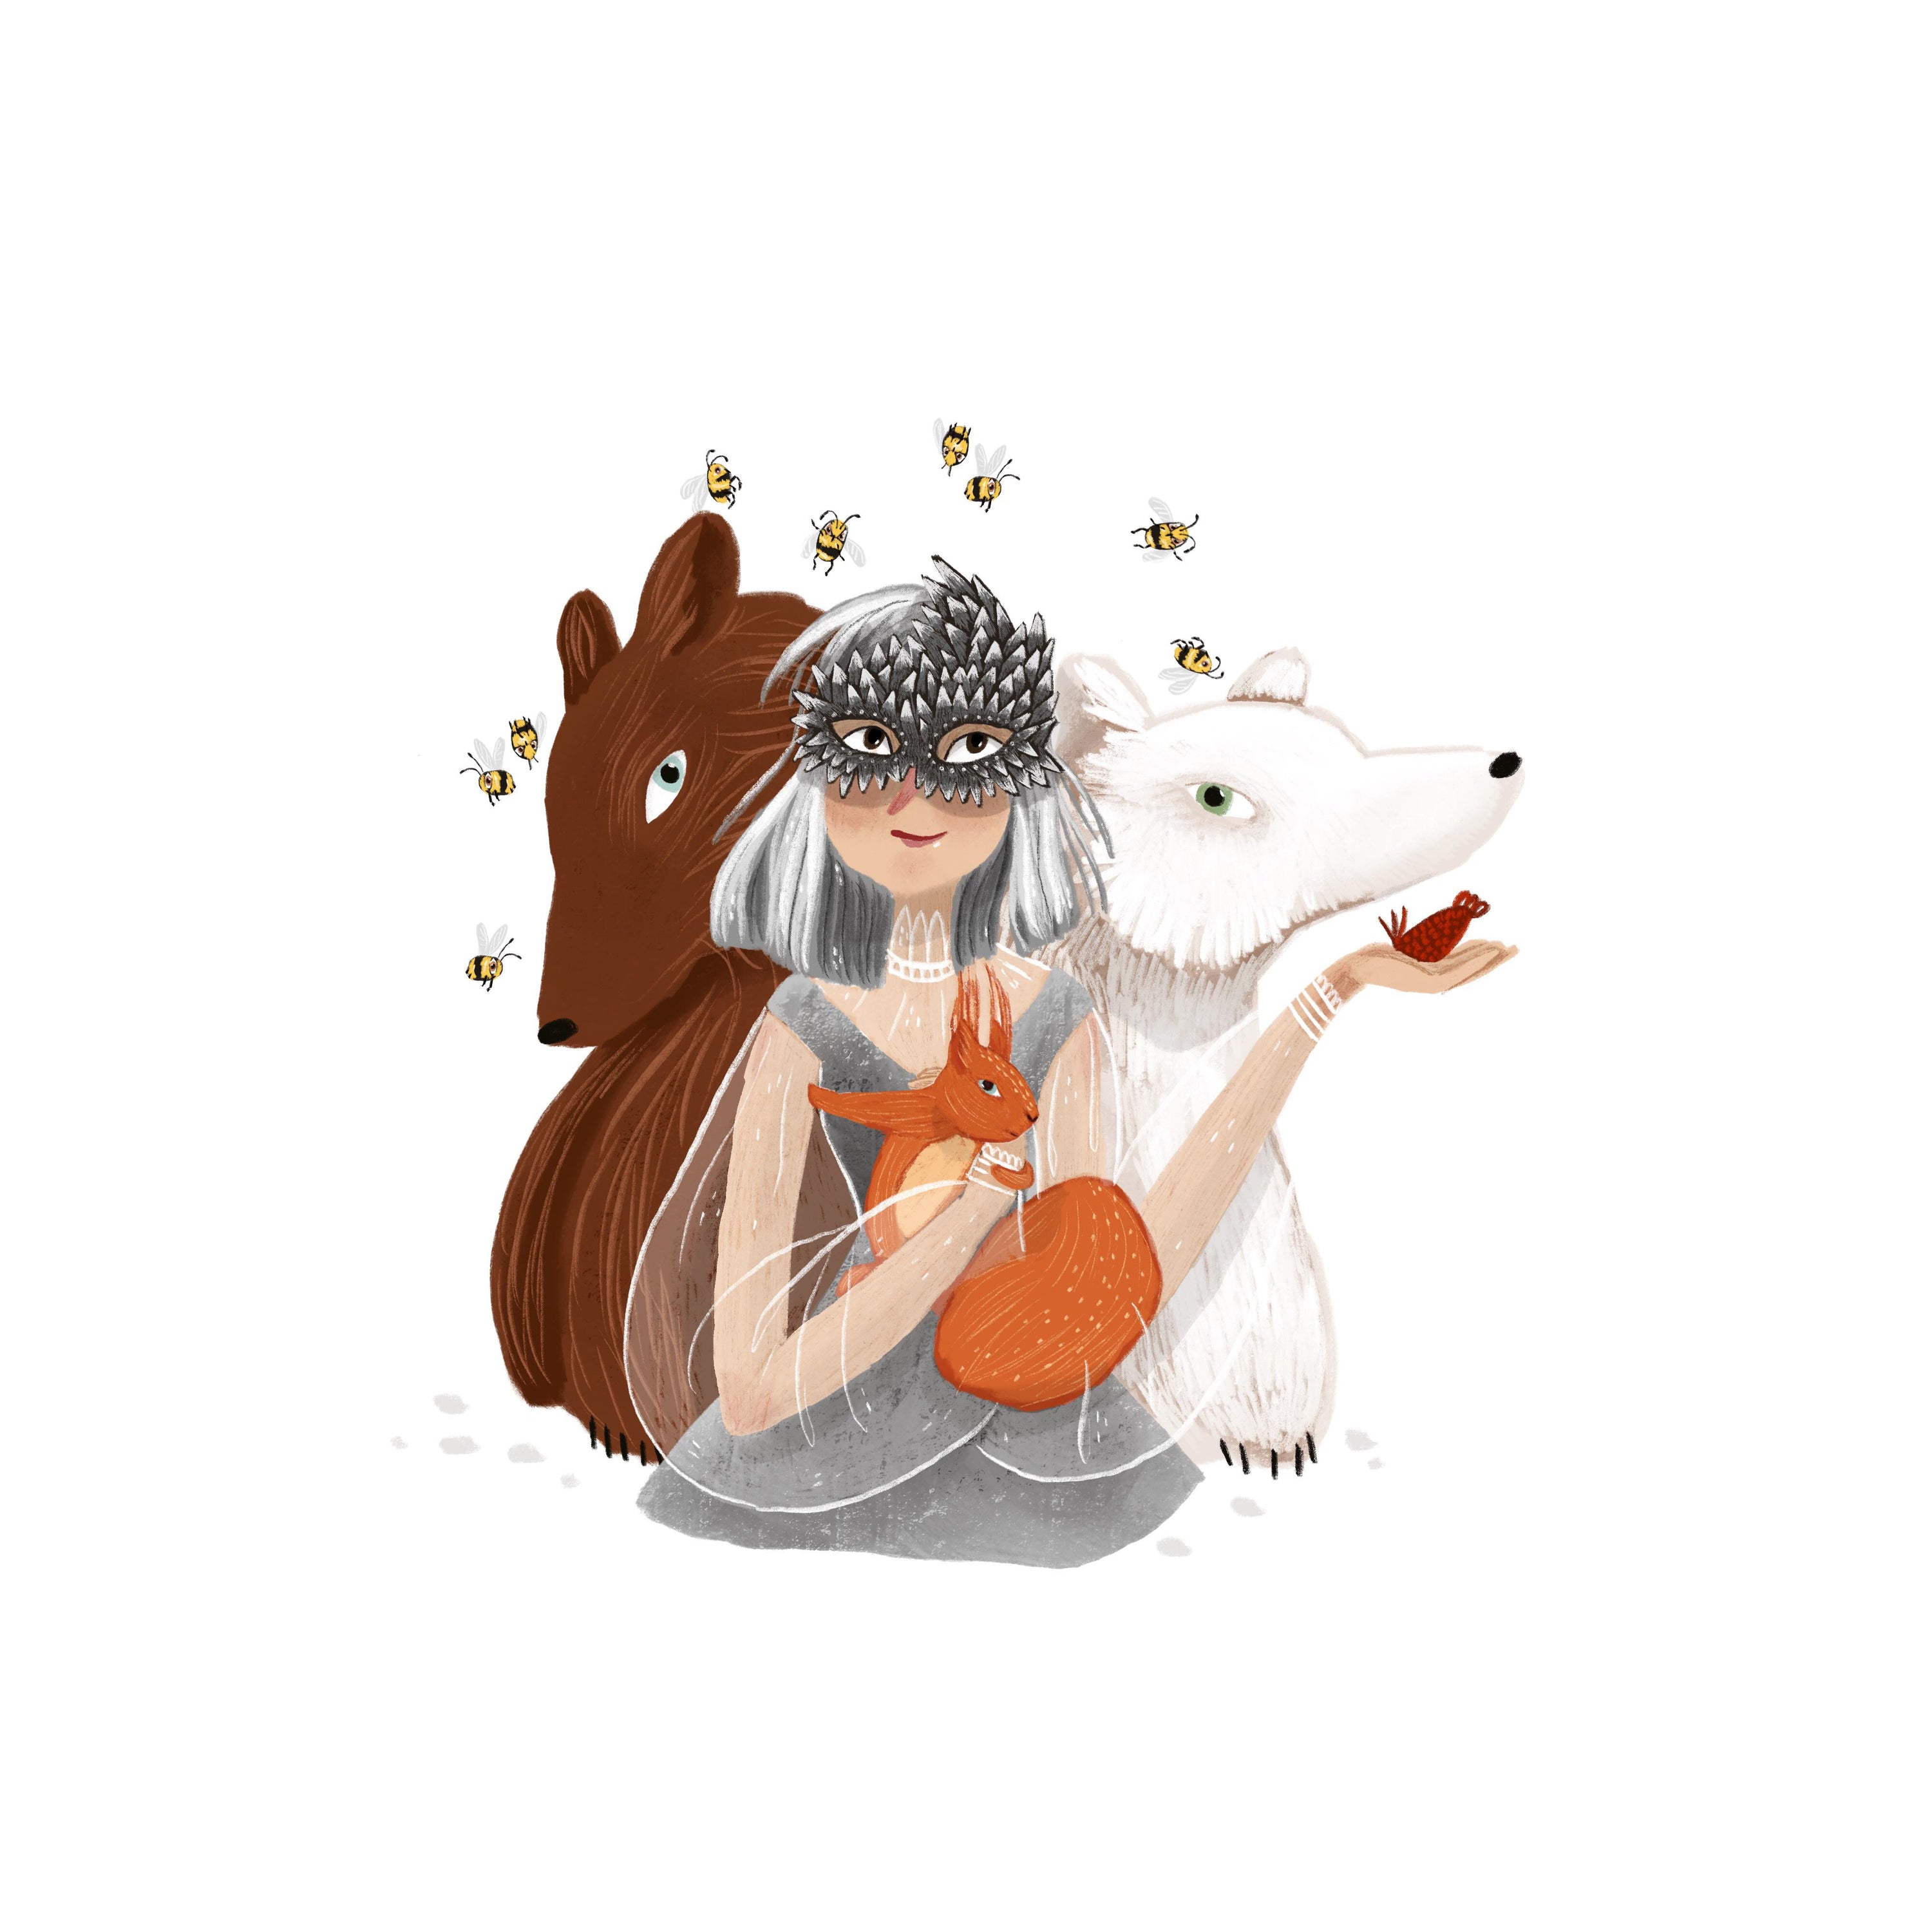
A fellow fiber friend brought felting needles to her handwork class to embellish wet-felted costumes she had created with her students for a school play. I jumped right in and poked along. I was hooked, you could say with every poke not only the fibers, but I got more and more entangled and firmly embedded in the craft. Soon I was creating little mushrooms and woodland creatures like hedgehogs and little bunnies. I made “banners” 3D wall hangings with first names and added cute decor to put into nurseries. The craft of needle felting has no limits, and if it does I haven't found it yet. I created toys, decorations, and embellished upholstered furniture, and so much more. I now teach classes online and in-person and love sharing my passion with others. It’s so rewarding to see how a pile of wool can transform into something special.
Where did needle-felting come from?
It’s one of the oldest textile techniques and dates back to 4000-5000 BC, traditionally used to make warm and durable materials.The traditional way of felting involves water, soap, and agitation and is now known as wet-felting. Needle felting as an art form didn’t emerge until the 1980s, when fiber artists began experimenting with the needles that came out of felting machines that were invented much later to create intricate sculptures. David and Eleanor Stanwood are credited with inventing needle felting in the 1980s. They adapted the technique from industrial felting from the 1950s, which uses machines to create felt. Then, felt was used in cars, musical instruments, insulation, and more. Here I want to mention that wool is naturally fire resistant and is considered the most flame resistant of all natural fibers. Wool is less likely to ignite than other materials, and if it does burn, it will self-extinguish. Cool if you ask me!
Now that we know where needle felting came from we can look at where it is going. Nowadays, scrolling through Instagram you will notice that the craft has taken the world by storm. People love it for so many reasons.
- Creative Expansion: More crafters are exploring needle felting as a medium for mixed media projects, combining it with embroidery, painting, or even woodworking.
- Education and Accessibility: As online tutorials and social media continue to grow, needle felting becomes more accessible to beginners worldwide.
- Eco-Friendly Crafting: The emphasis on natural and sustainable materials aligns with broader environmental trends, making it appealing to conscious creators.
- 3D and Digital Integration: Technology might bring innovations like 3D-printed armatures or digital design tools to enhance and streamline the creative process.
Let me share some of the applications in my 2.5 decades entanglement with felting needles and wool.
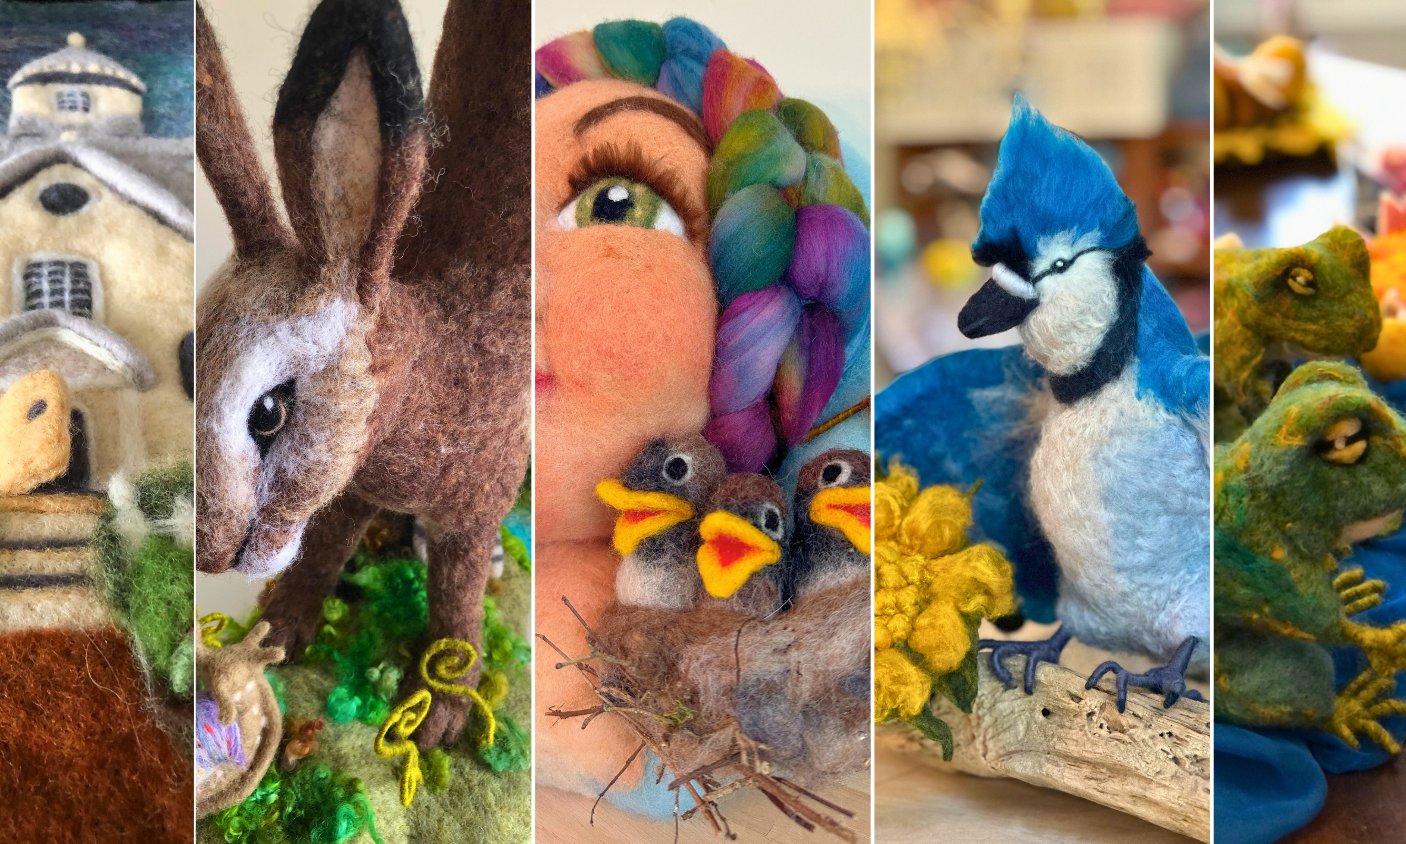
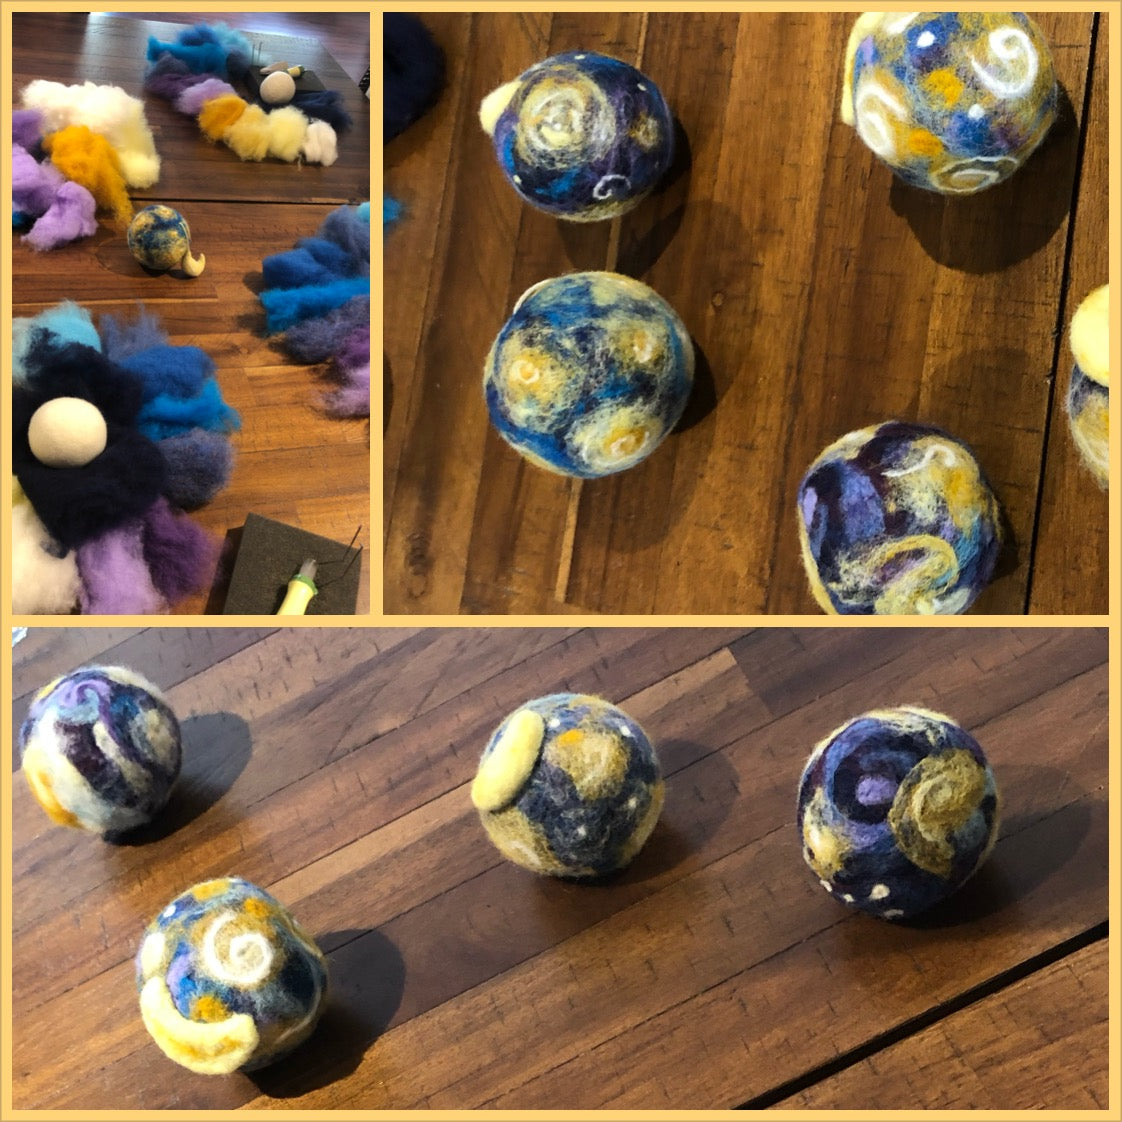
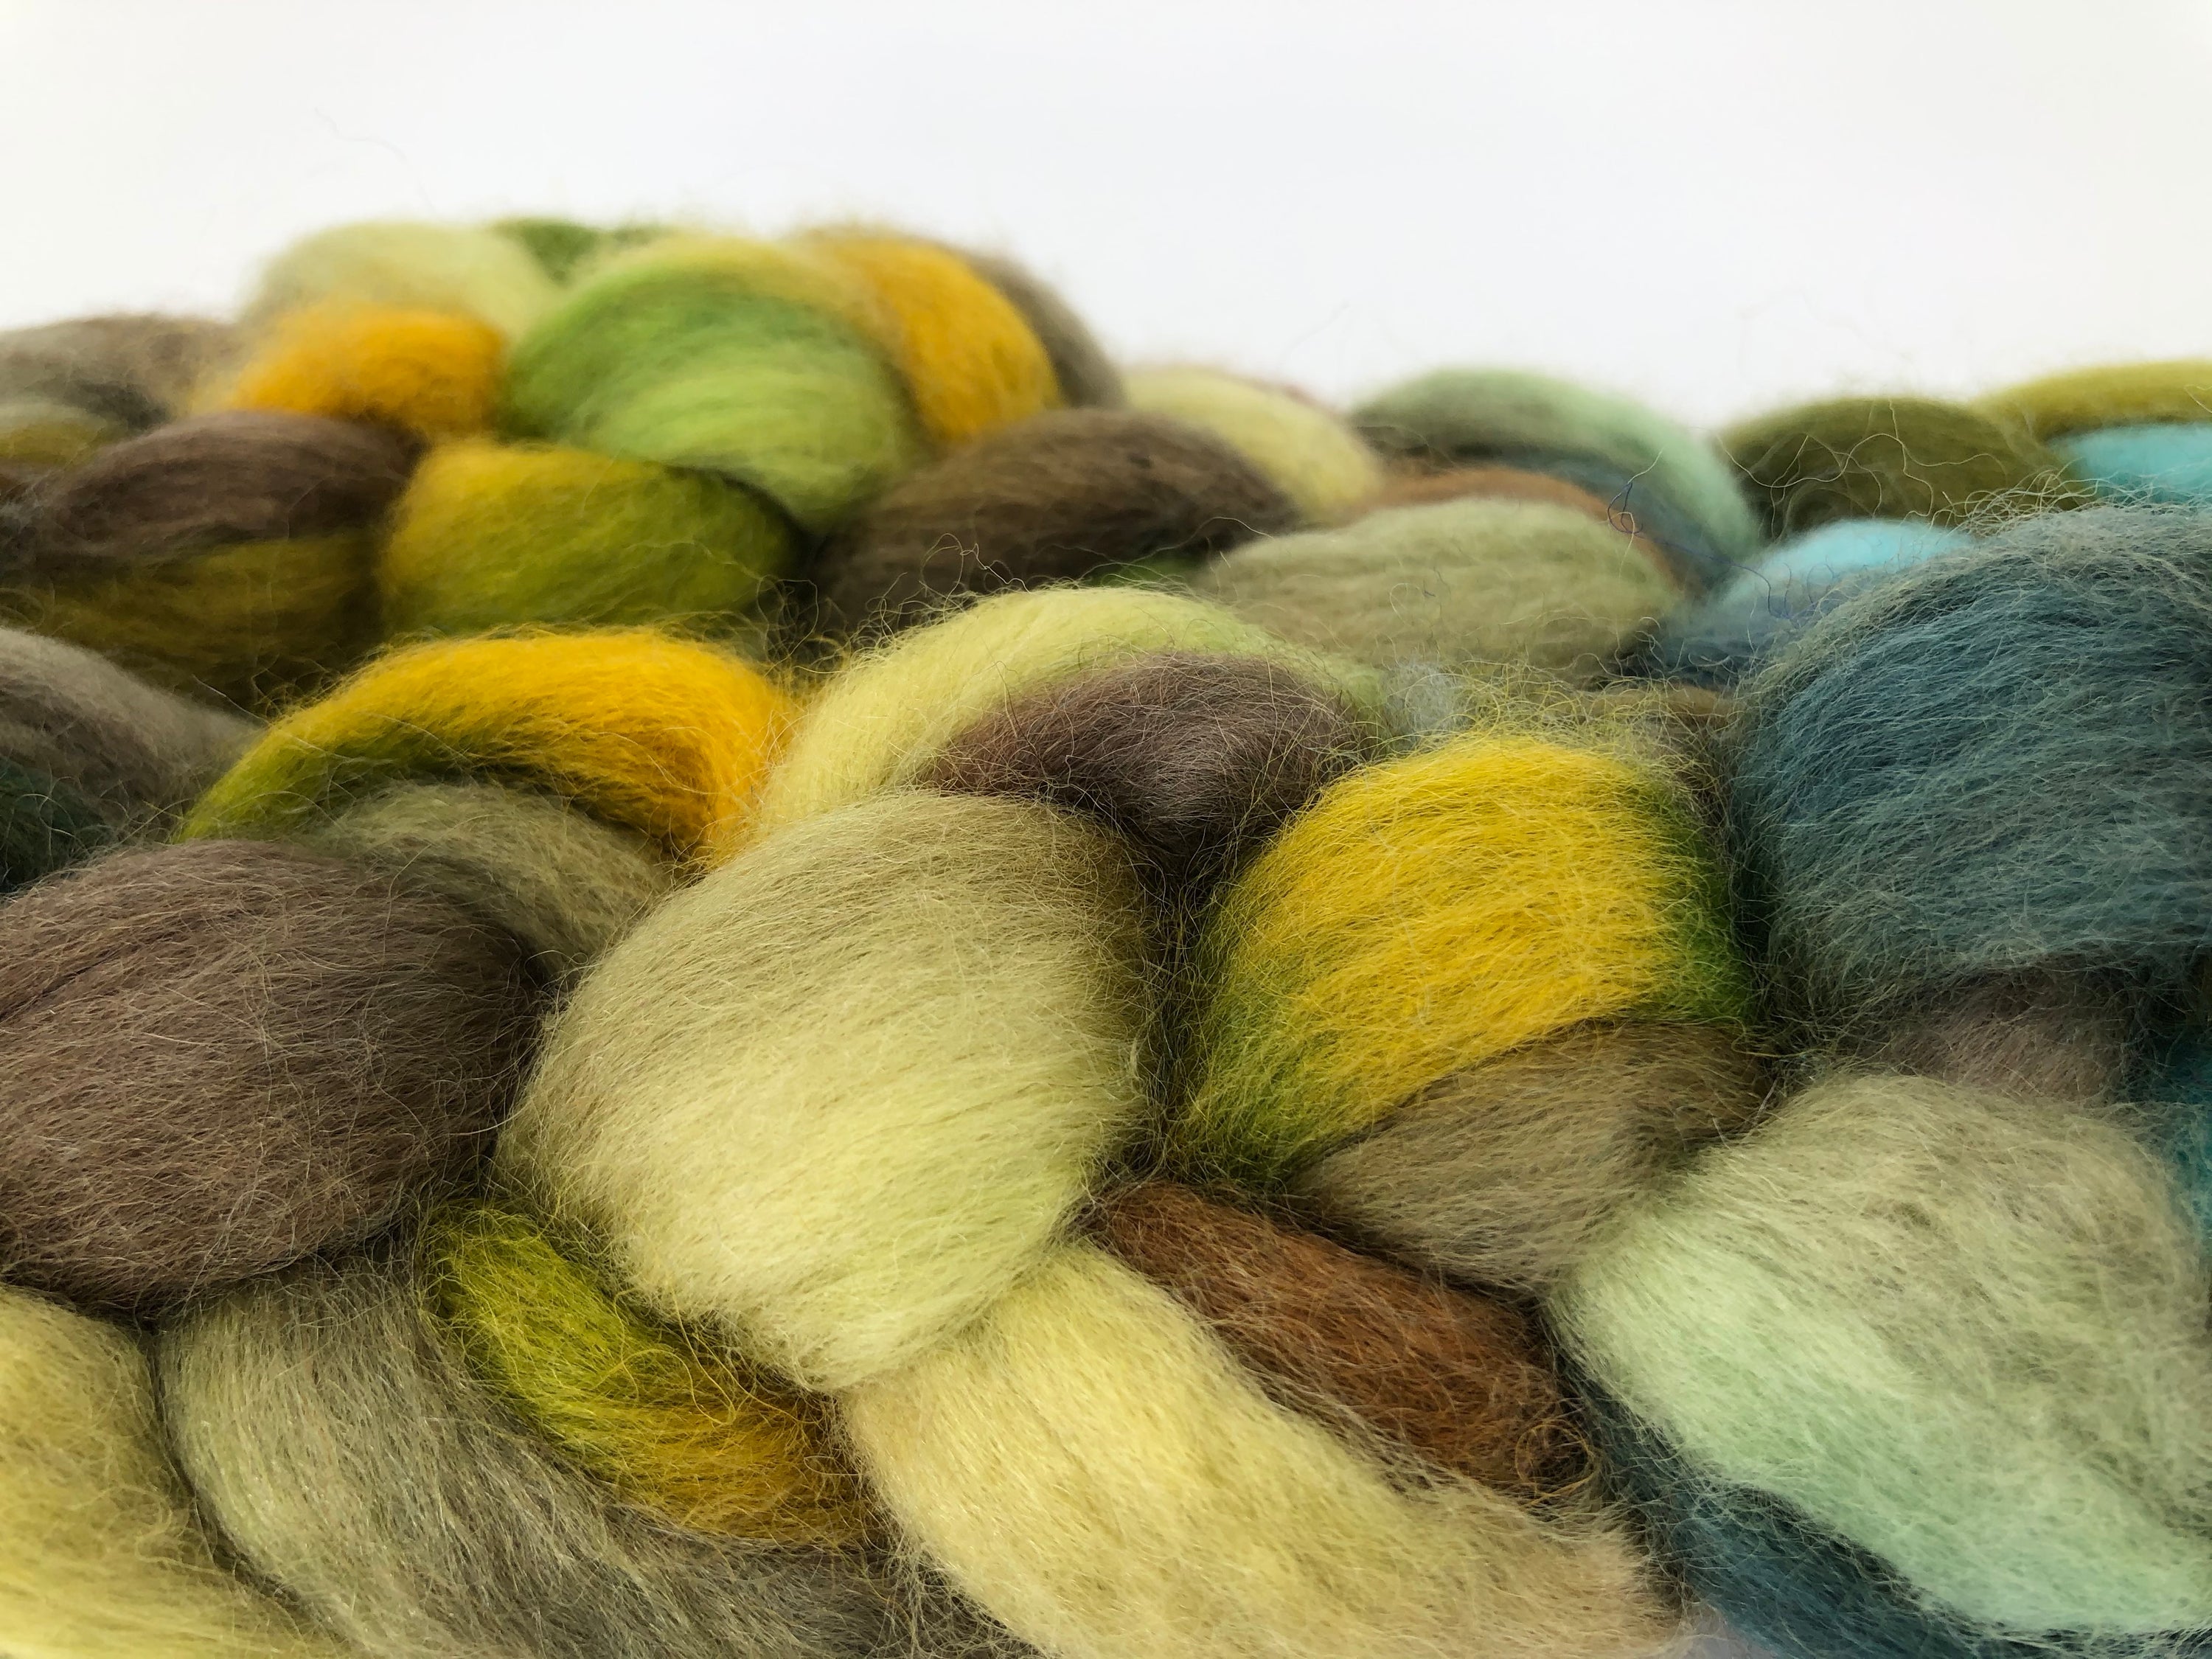
Painting with Wool: "Needle felting is often compared to painting, but instead of a brush, you use a barbed needle, and instead of paint, you use wool. Imagine creating vibrant landscapes, animals, or even abstract art by layering thin pieces of colorful wool like you would brushstrokes. The wool’s texture adds depth and a tactile quality that makes your 'painting' come alive in a way traditional mediums can’t. For example, I once recreated a field of wildflowers using needle felting, and the way the wool mimicked the softness of petals was just magical."

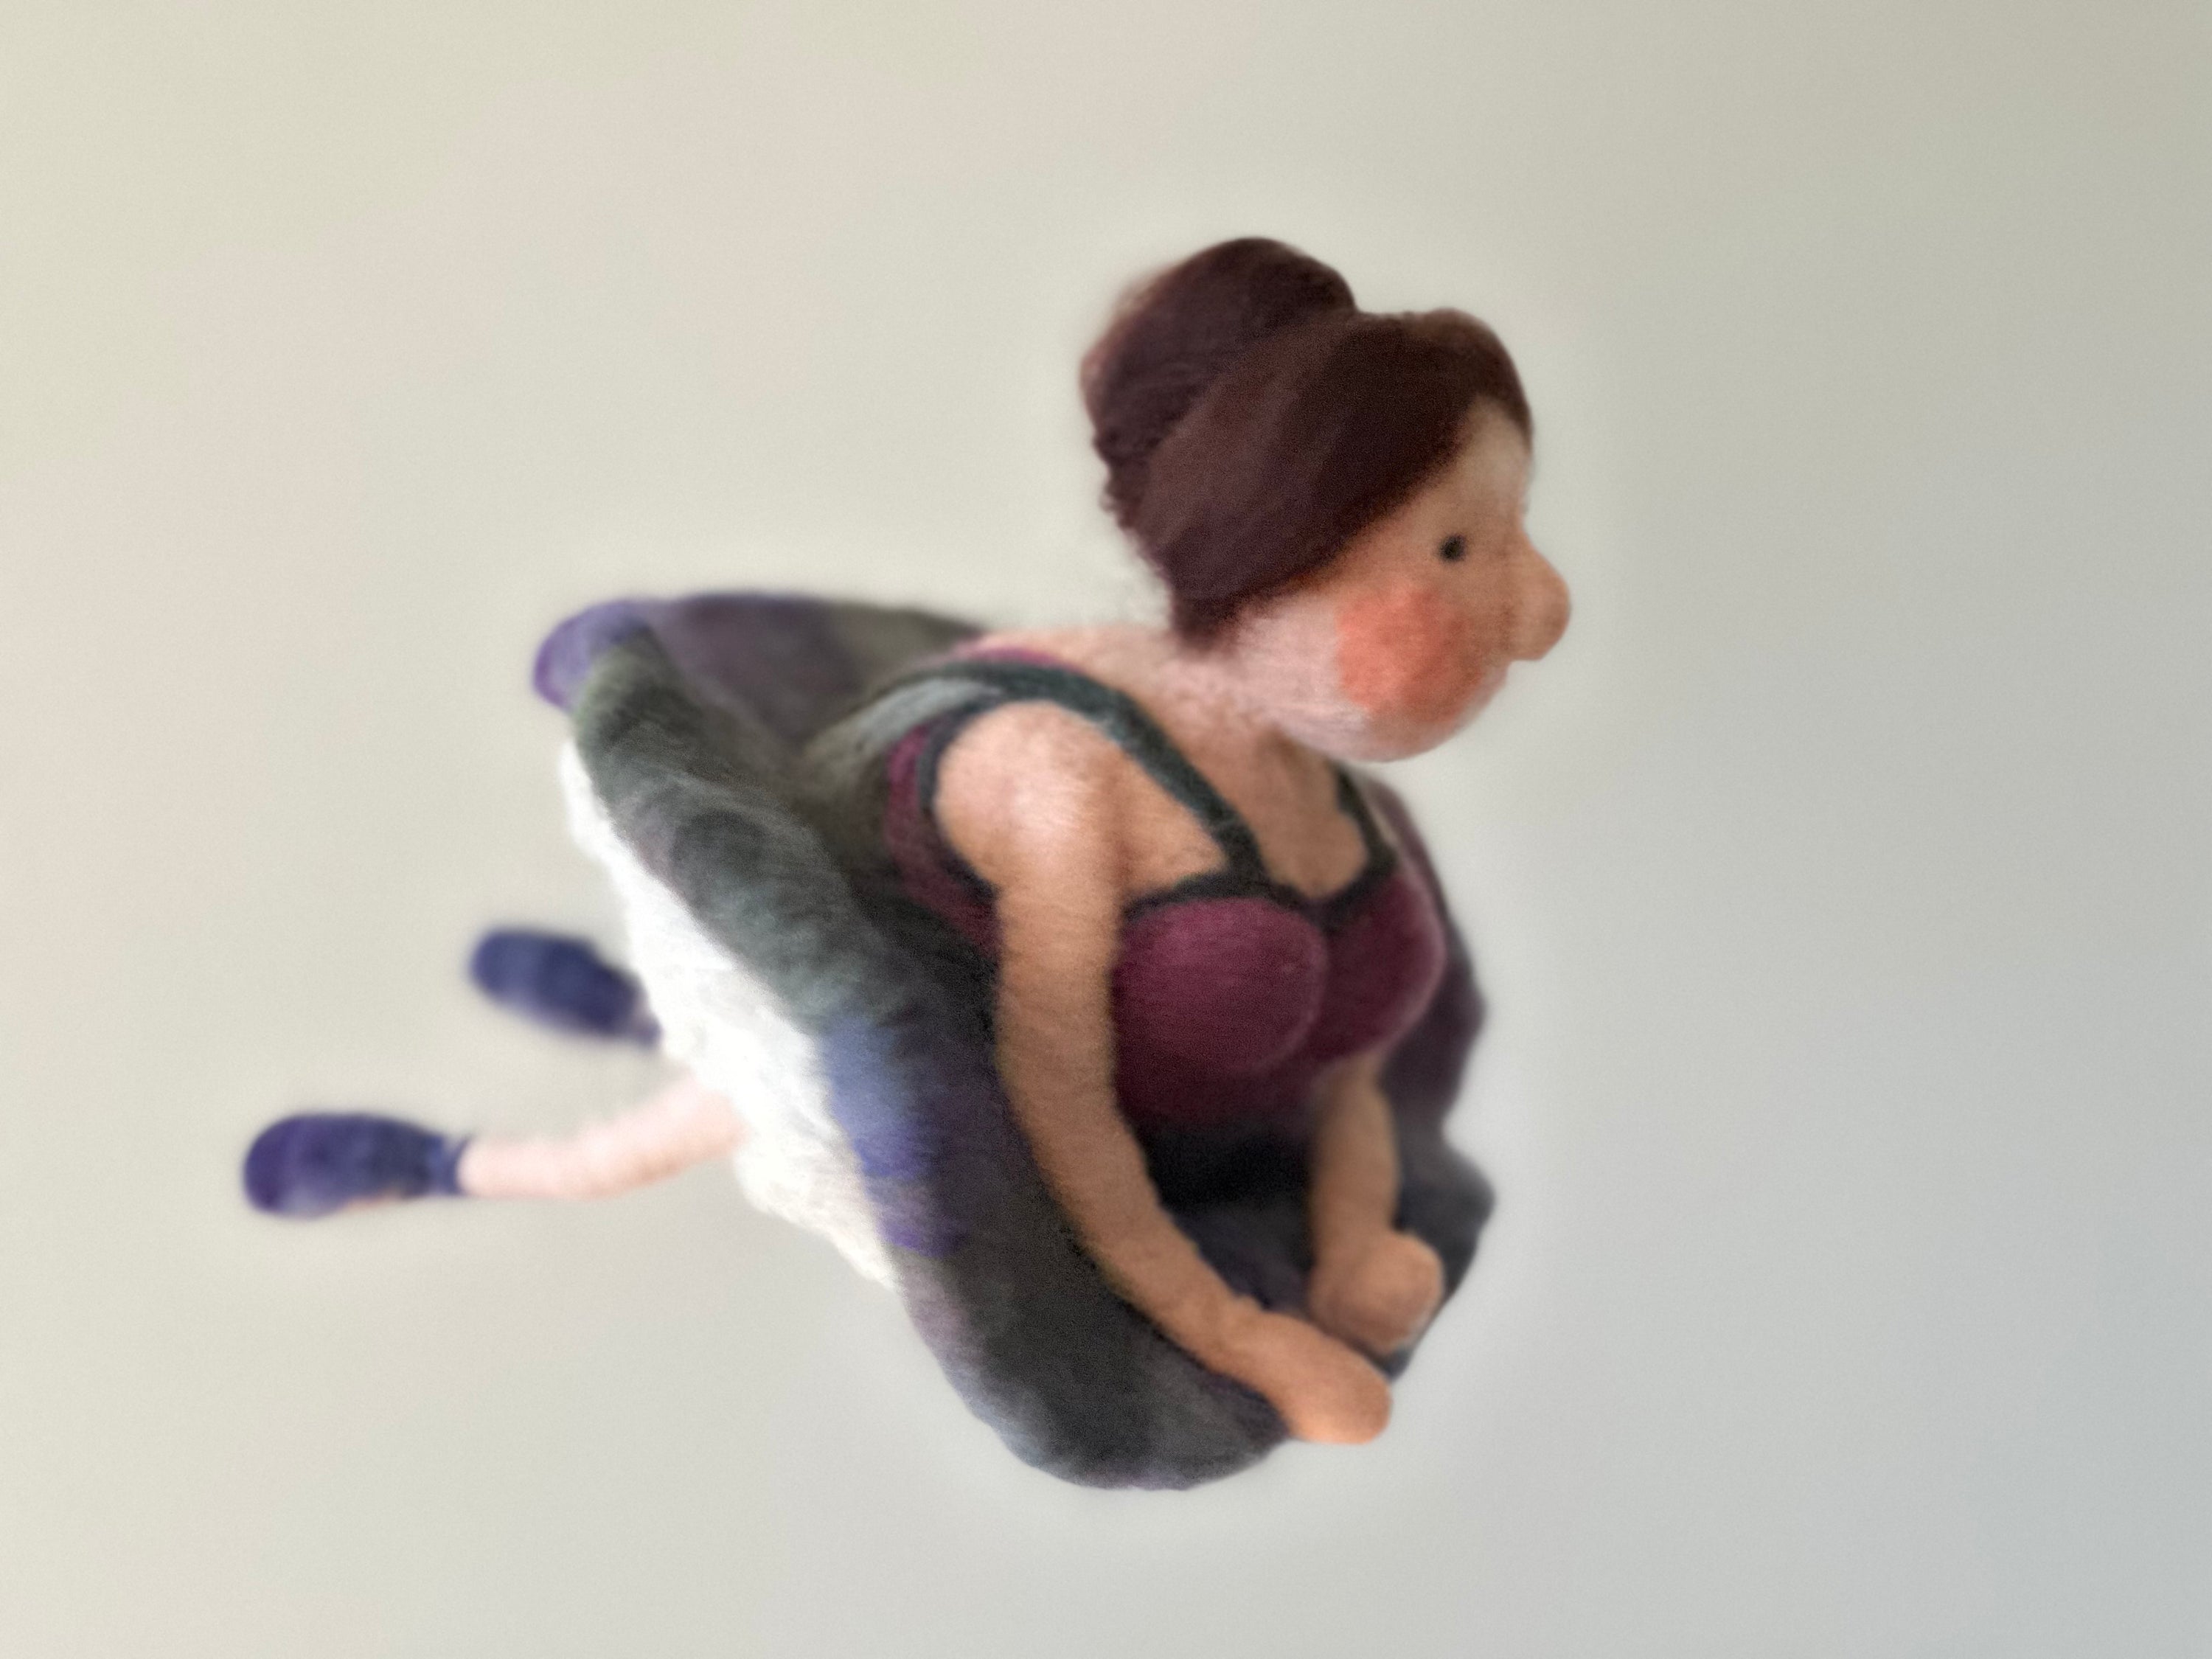
Sculpting with Wool: "If painting isn’t your style, think of needle felting as sculpting with wool. It’s similar to working with clay, where you start with a basic shape and refine it as you go. Larger projects will be needle felted around a wire armature. If you look one of my favorite sculptural projects the sea turtle you wouldn't believe that the only wire armature involved is in the base to prop up the turtle. The turtle only has a wire armature in the front fins. Smaller sculptures don't necessarily need a wire armature."

Embellishing with Wool: "Finally, needle felting can be a beautiful way to embellish existing pieces, much like embroidery. You can add felted flowers or whimsical details to hats, scarves, or even handbags. I once embellished upholstered chairs with whimsical details. Unlike traditional embroidery, felting has a softer, more textured look that really stands out."

Earlier I mentioned that there are many reasons to love needle-felting. Let me list some here for you that are important for me.
-
Creative Freedom: Needle felting lets you transform wool into anything you can imagine—animals, landscapes, ornaments, or functional art. There's no rigid structure, allowing for endless possibilities.
-
Accessibility: With minimal supplies—a needle, some wool, and a foam pad—you can create beautiful pieces. It's perfect for those who want an easy entry into crafting.
-
Stress Relief: The repetitive poking motion can feel meditative, making it an excellent way to relax and unwind.
-
Sustainability: Wool is a natural, renewable material, and many crafters use scraps or recycled wool for their projects, making it an eco-friendly art form.
-
Sense of Accomplishment: Seeing your progress as you shape raw wool into something tangible and beautiful is incredibly satisfying.
-
Tactile Experience: Working with soft, natural fibers engages your sense of touch in a soothing way, enhancing the overall crafting experience.
-
Community and Connection: The needle felting community is welcoming, with many enthusiasts sharing tips, tutorials, and encouragement online.
-
Personal Expression: Every piece you create reflects your unique style and personality, from whimsical characters to lifelike sculptures.
-
Beginner-Friendly: You can start small with simple projects like felted hearts or spheres and gradually develop skills, making it approachable for all ages.
-
Therapeutic Benefits: Many people find needle felting helps improve focus, patience, and mindfulness, offering a creative outlet that supports mental well-being.
- My personal experience with the therapeutic benefits run deep. Over 20 years ago I was told that I most likely have MS. At that time some test were not conclusive enough and I opted to "wait and see". Now, 20 years later the diagnosis is real and I have started medical treatment. However, I firmly believe that working in the fiber arts for the past 20 years has saved me from a quickly progression of the disease. Research shows that engaging in crafts like needle felting can offer numerous benefits for individuals with multiple sclerosis (MS), supporting physical, cognitive, and emotional well-being. The repetitive motions and creative focus of felting promote mindfulness, reducing stress and enhancing relaxation, while providing an outlet for emotional expression. This activity can improve fine motor skills, hand strength, and coordination, making it an excellent way to maintain dexterity. Additionally, designing and completing projects stimulates cognitive functions such as planning, problem-solving, and focus, which can help counteract MS-related brain fog. The sense of accomplishment from finishing a project boosts confidence and provides a sense of purpose, even on challenging days. Needle felting is highly adaptable, allowing individuals to work at their own pace and comfort level, making it accessible regardless of energy fluctuations. It also offers opportunities for social connection, whether through online communities or group classes, helping to combat feelings of isolation. Beyond these benefits, the creative process serves as a therapeutic distraction from physical discomfort and builds a positive, structured routine that fosters a sense of stability and normalcy. I agree wholeheartedly!
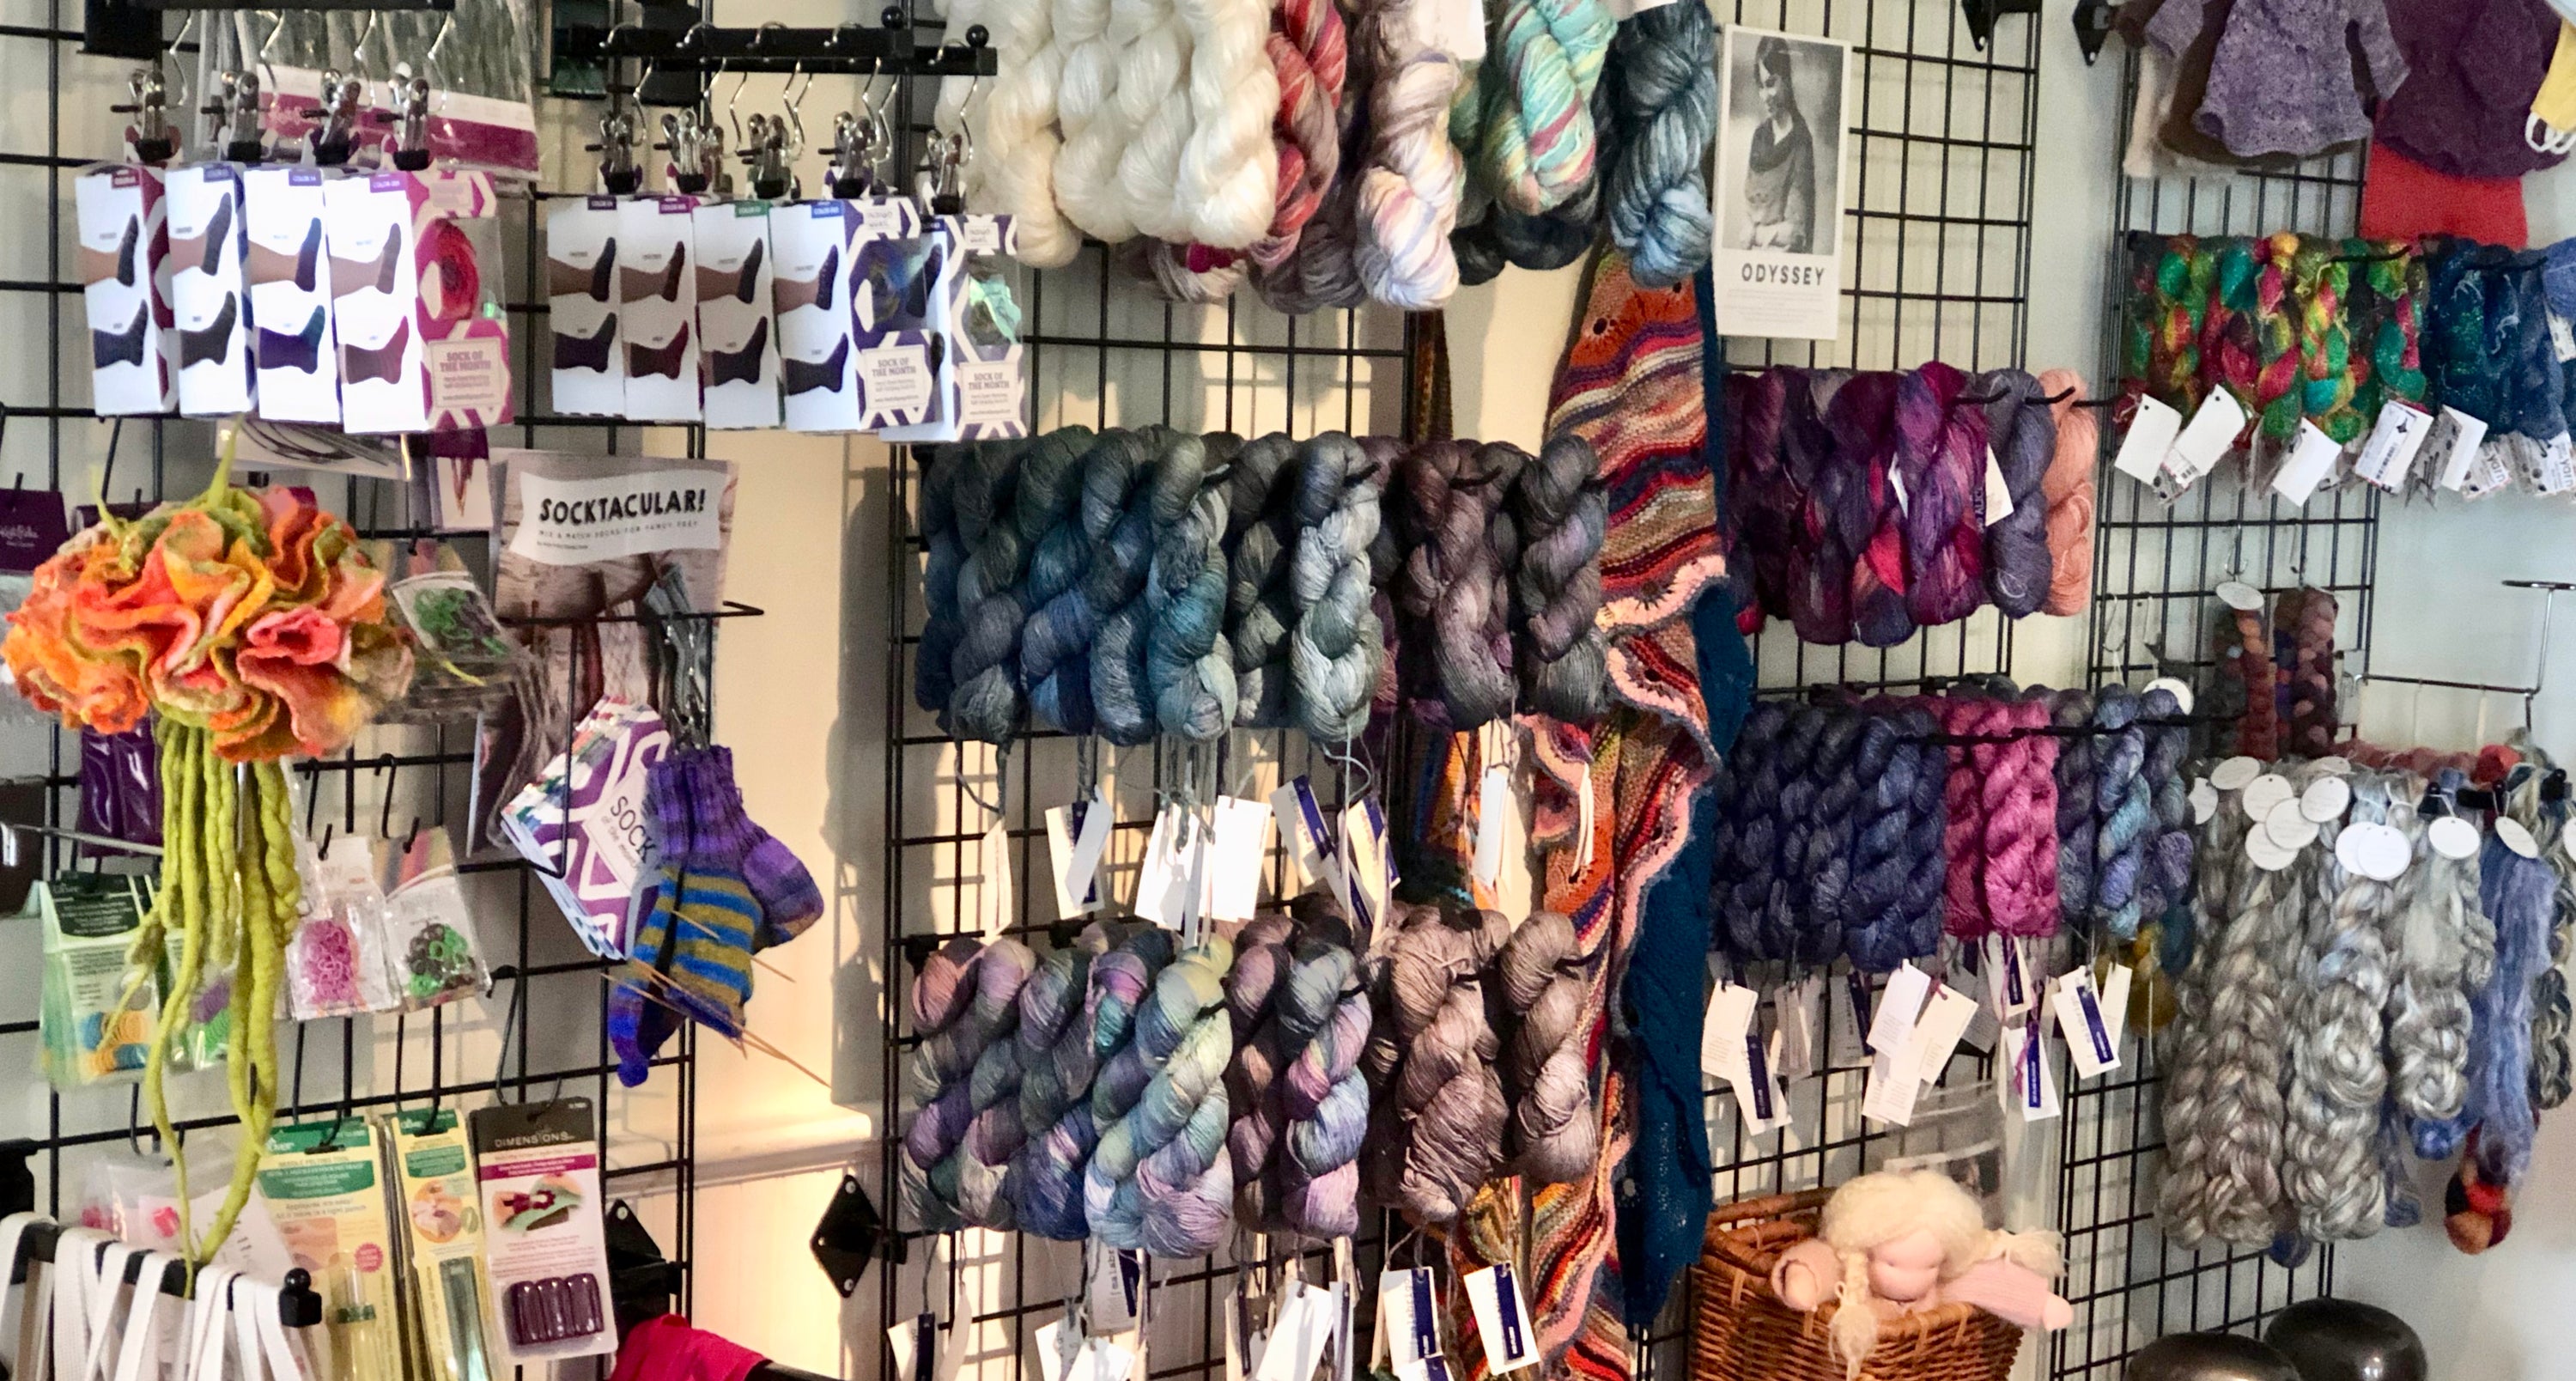
What do you need to get started?
Must-Have Items
-
Felting Needles
- Special barbed needles are the core of needle felting.
-
Types to consider:
- 36 Gauge (Coarse): For faster shaping and sculpting.
- 38 Gauge (Medium): A versatile needle, great for most projects.
- 40 Gauge (Fine): For detailing and smoothing surfaces.
-
Wool
- Core Wool: Inexpensive wool for creating the inner structure of your project.
- Topcoat Wool: Higher-quality wool (e.g., Merino, Corriedale, or Romney) used for outer layers and details.
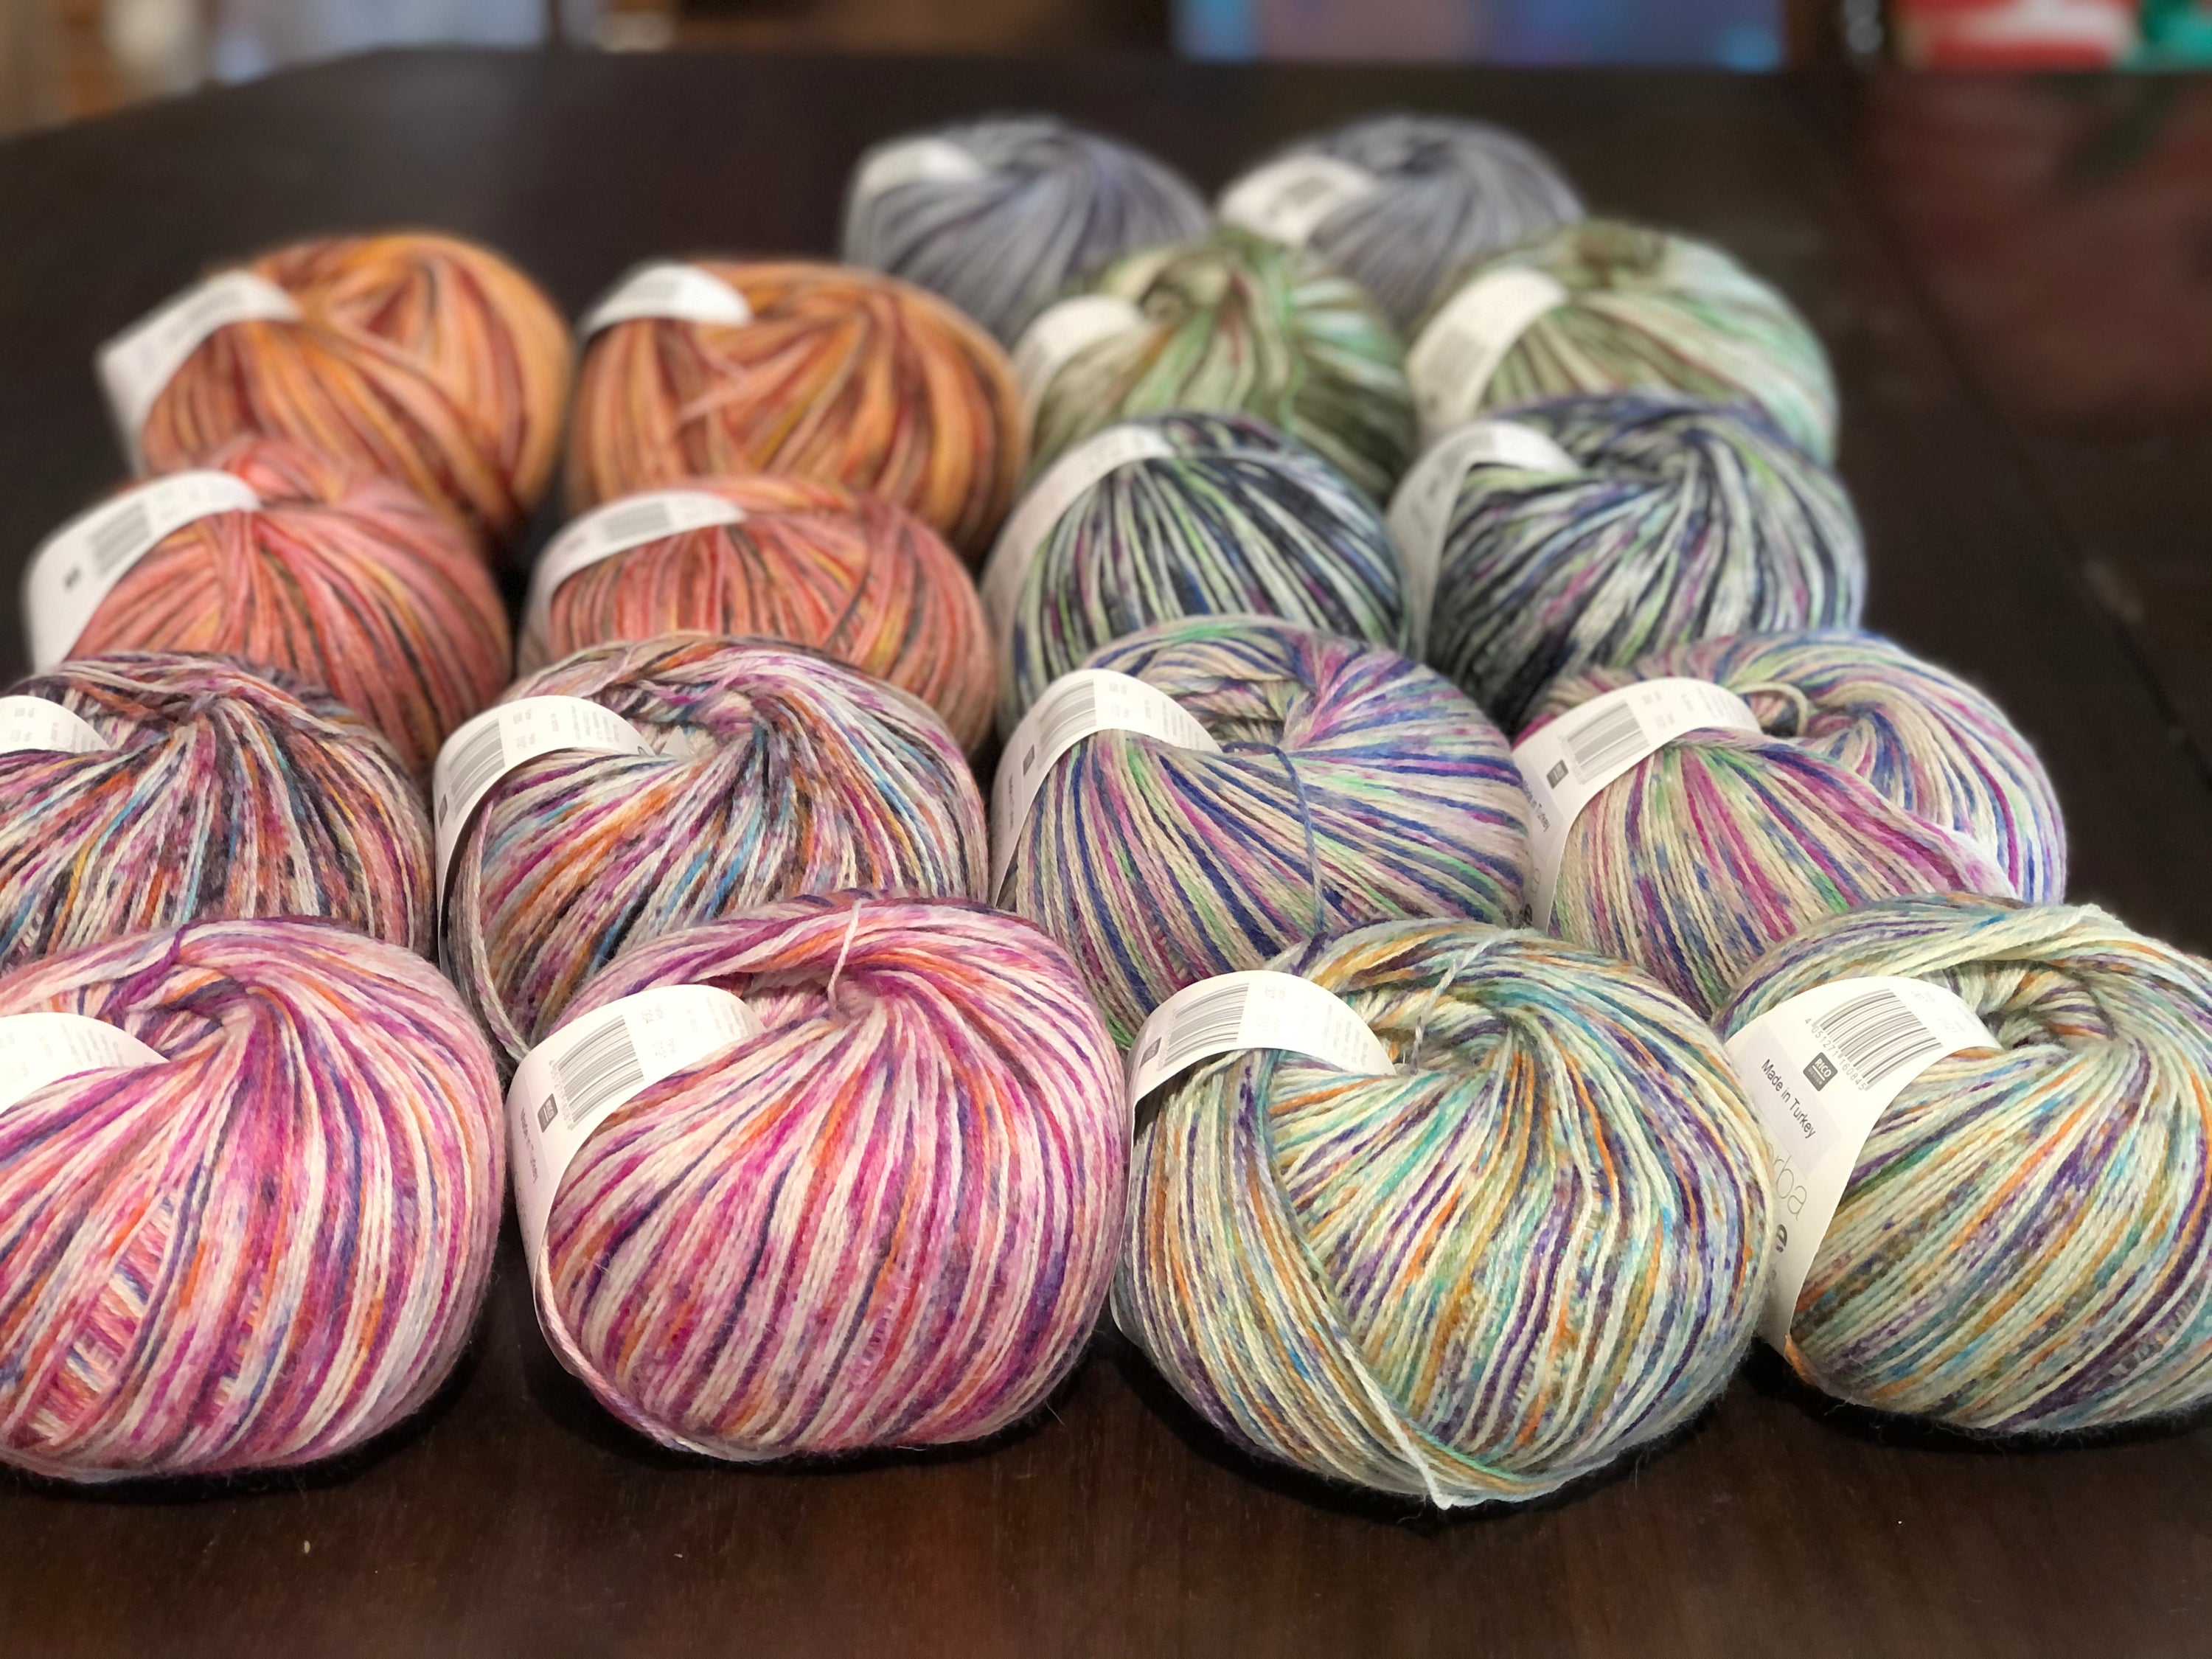
- Pre-dyed Wool: Convenient for adding color and patterns.
-
Felting Surface
- A protective mat prevents breaking needles and protects your workspace.
- Options:
- Foam Block: Affordable and widely used.
- Wool Pad: Long-lasting and eco-friendly.
- Brush Mat: Helps with flat pieces but less versatile.
Nice-to-Have Items
-
Needle Holders
- Hold multiple needles for faster felting or provide a more comfortable grip for single needles.
-
Finger Guards
- Protect your fingers while working, especially helpful for beginners.
-
Wire Armature Supplies
- Use floral wire or craft wire for creating posable figures.
-
Scissors and Tweezers
- Scissors: For cutting wool or trimming excess fibers.
- Tweezers: Useful for precise detailing or adding small parts like whiskers.
-
Wool Blending Tools
- A blending brush or carders can help mix wool colors.
-
Templates and Molds
- Foam or plastic shapes make it easier to create uniform shapes like spheres or stars.
Optional Luxuries
-
Rotary Cutters and Cutting Mats
- Useful for precise cutting of fabric or wool sheets.
-
Beads, Eyes, and Embellishments
- Enhance your creations by adding eyes, beads, or other details.
-
Storage Bins and Organizers
- Keep your wool and tools neatly arranged.
-
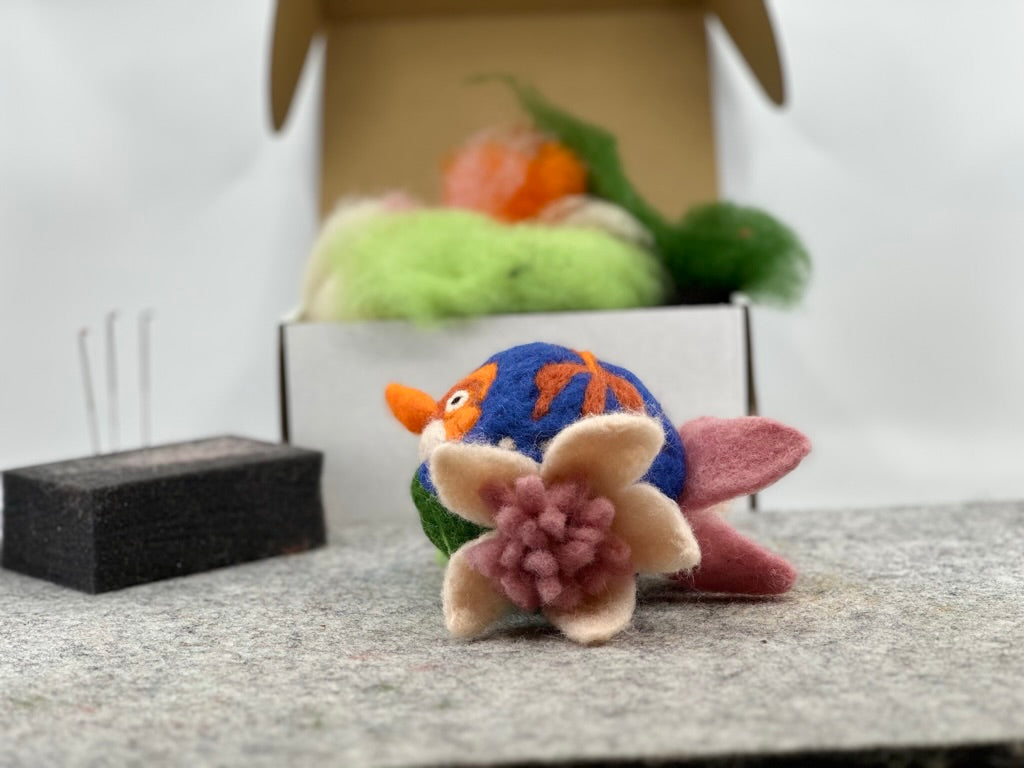
Beginner Kits
- These often include a small selection of needles, wool, and a mat to get you started on your first project.
Detailed information about the Needles
- Needle Gauge: Thickness
The gauge indicates the needle's thickness: the lower the number, the thicker the needle. Thicker needles are used for shaping and coarser felting, while thinner needles are for detailing and smoothing.
Common Gauges and Uses:
- 32 Gauge (Very Coarse)
-
- Use: Initial shaping and felting large pieces together, or coarse fiber
- Best for: Fast, firm felting of core wool or dense projects.
- Downside: Leaves visible holes and is too harsh for fine details.
- 36 Gauge (Coarse)
-
- Use: Initial shaping and felting large pieces together.
- Best for: Fast, firm felting of core wool or dense projects.
- Downside: Leaves visible holes and is too harsh for fine details.
- 38 Gauge (Medium)
-
- Use: General-purpose needle, works for shaping, joining, and adding surface layers.
- Best for: Blending and smoothing surface fibers after initial shaping.
- Great for beginners: A versatile needle for learning.
- 40 Gauge (Fine)
-
- Use: Refining and adding small details like facial features, fine lines, or tiny embellishments.
- Best for: Final surface work to smooth and polish.
- Note: Works well with soft, fine wool.
- 42 Gauge (Ultra-Fine)
-
- Use: Intricate detail work or fixing stray fibers.
- Best for: Micro-felting, working with very fine wool, or fixing small imperfections.
- Downside: Can break easily, so use with care.
Needle Shapes: Cross-Sections
The barbs along the needle help tangle fibers as you poke them into the wool. Different shapes offer unique results.
1. Triangle Needle
- Shape: Three-sided with evenly spaced barbs.
- Use: A standard needle great for most purposes, from shaping to detailing.
- Gauge options: Available in 32, 36, 38, 40, and finer.
- Best for beginners: A versatile needle to start with.
2. Star Needle
- Shape: Four-sided with more barbs than a triangle needle.
- Use: Faster felting due to additional barbs, ideal for joining pieces and shaping larger areas.
- Gauge options: Typically found in medium gauges (38).
- Best for: Quick shaping or core work.
3. Spiral Needle
- Shape: Twisted shaft that spirals around the needle.
- Use: Provides smoother finishes and leaves fewer visible holes.
- Gauge options: Often in 38 or finer gauges.
- Best for: Blending surface layers or creating polished pieces.
4. Reverse Needle
- Shape: Barbs point upward, pulling fibers outward instead of inward.
- Use: Creates fuzzy textures or adds fluff (e.g., fur or feathers).
- Best for: Adding texture to animals, fairy hair, or whimsical designs.
5. Crown Needle
- Shape: Three barbs near the tip of the needle.
- Use: Allows very precise detailing without disrupting surrounding fibers.
- Best for: Micro-details, facial features, and embroidery-like effects.
Needle Combinations
Felting projects often require multiple needle types:
- Start with: A 36 or 38 triangle for shaping and core felting.
- Move to: A 40 triangle or spiral for surface refinement.
- Finish with: A 40 or 42 gauge for smoothing details.
Tips for Needle Maintenance
- Storage: Use a needle case or holder to avoid damage.
- Breakage: Avoid bending needles by felting at a straight angle.
- Replacement: Keep spares, as needles wear out or snap over time.