Skip to content
Country/region
Search
Cart

Doll Assembly

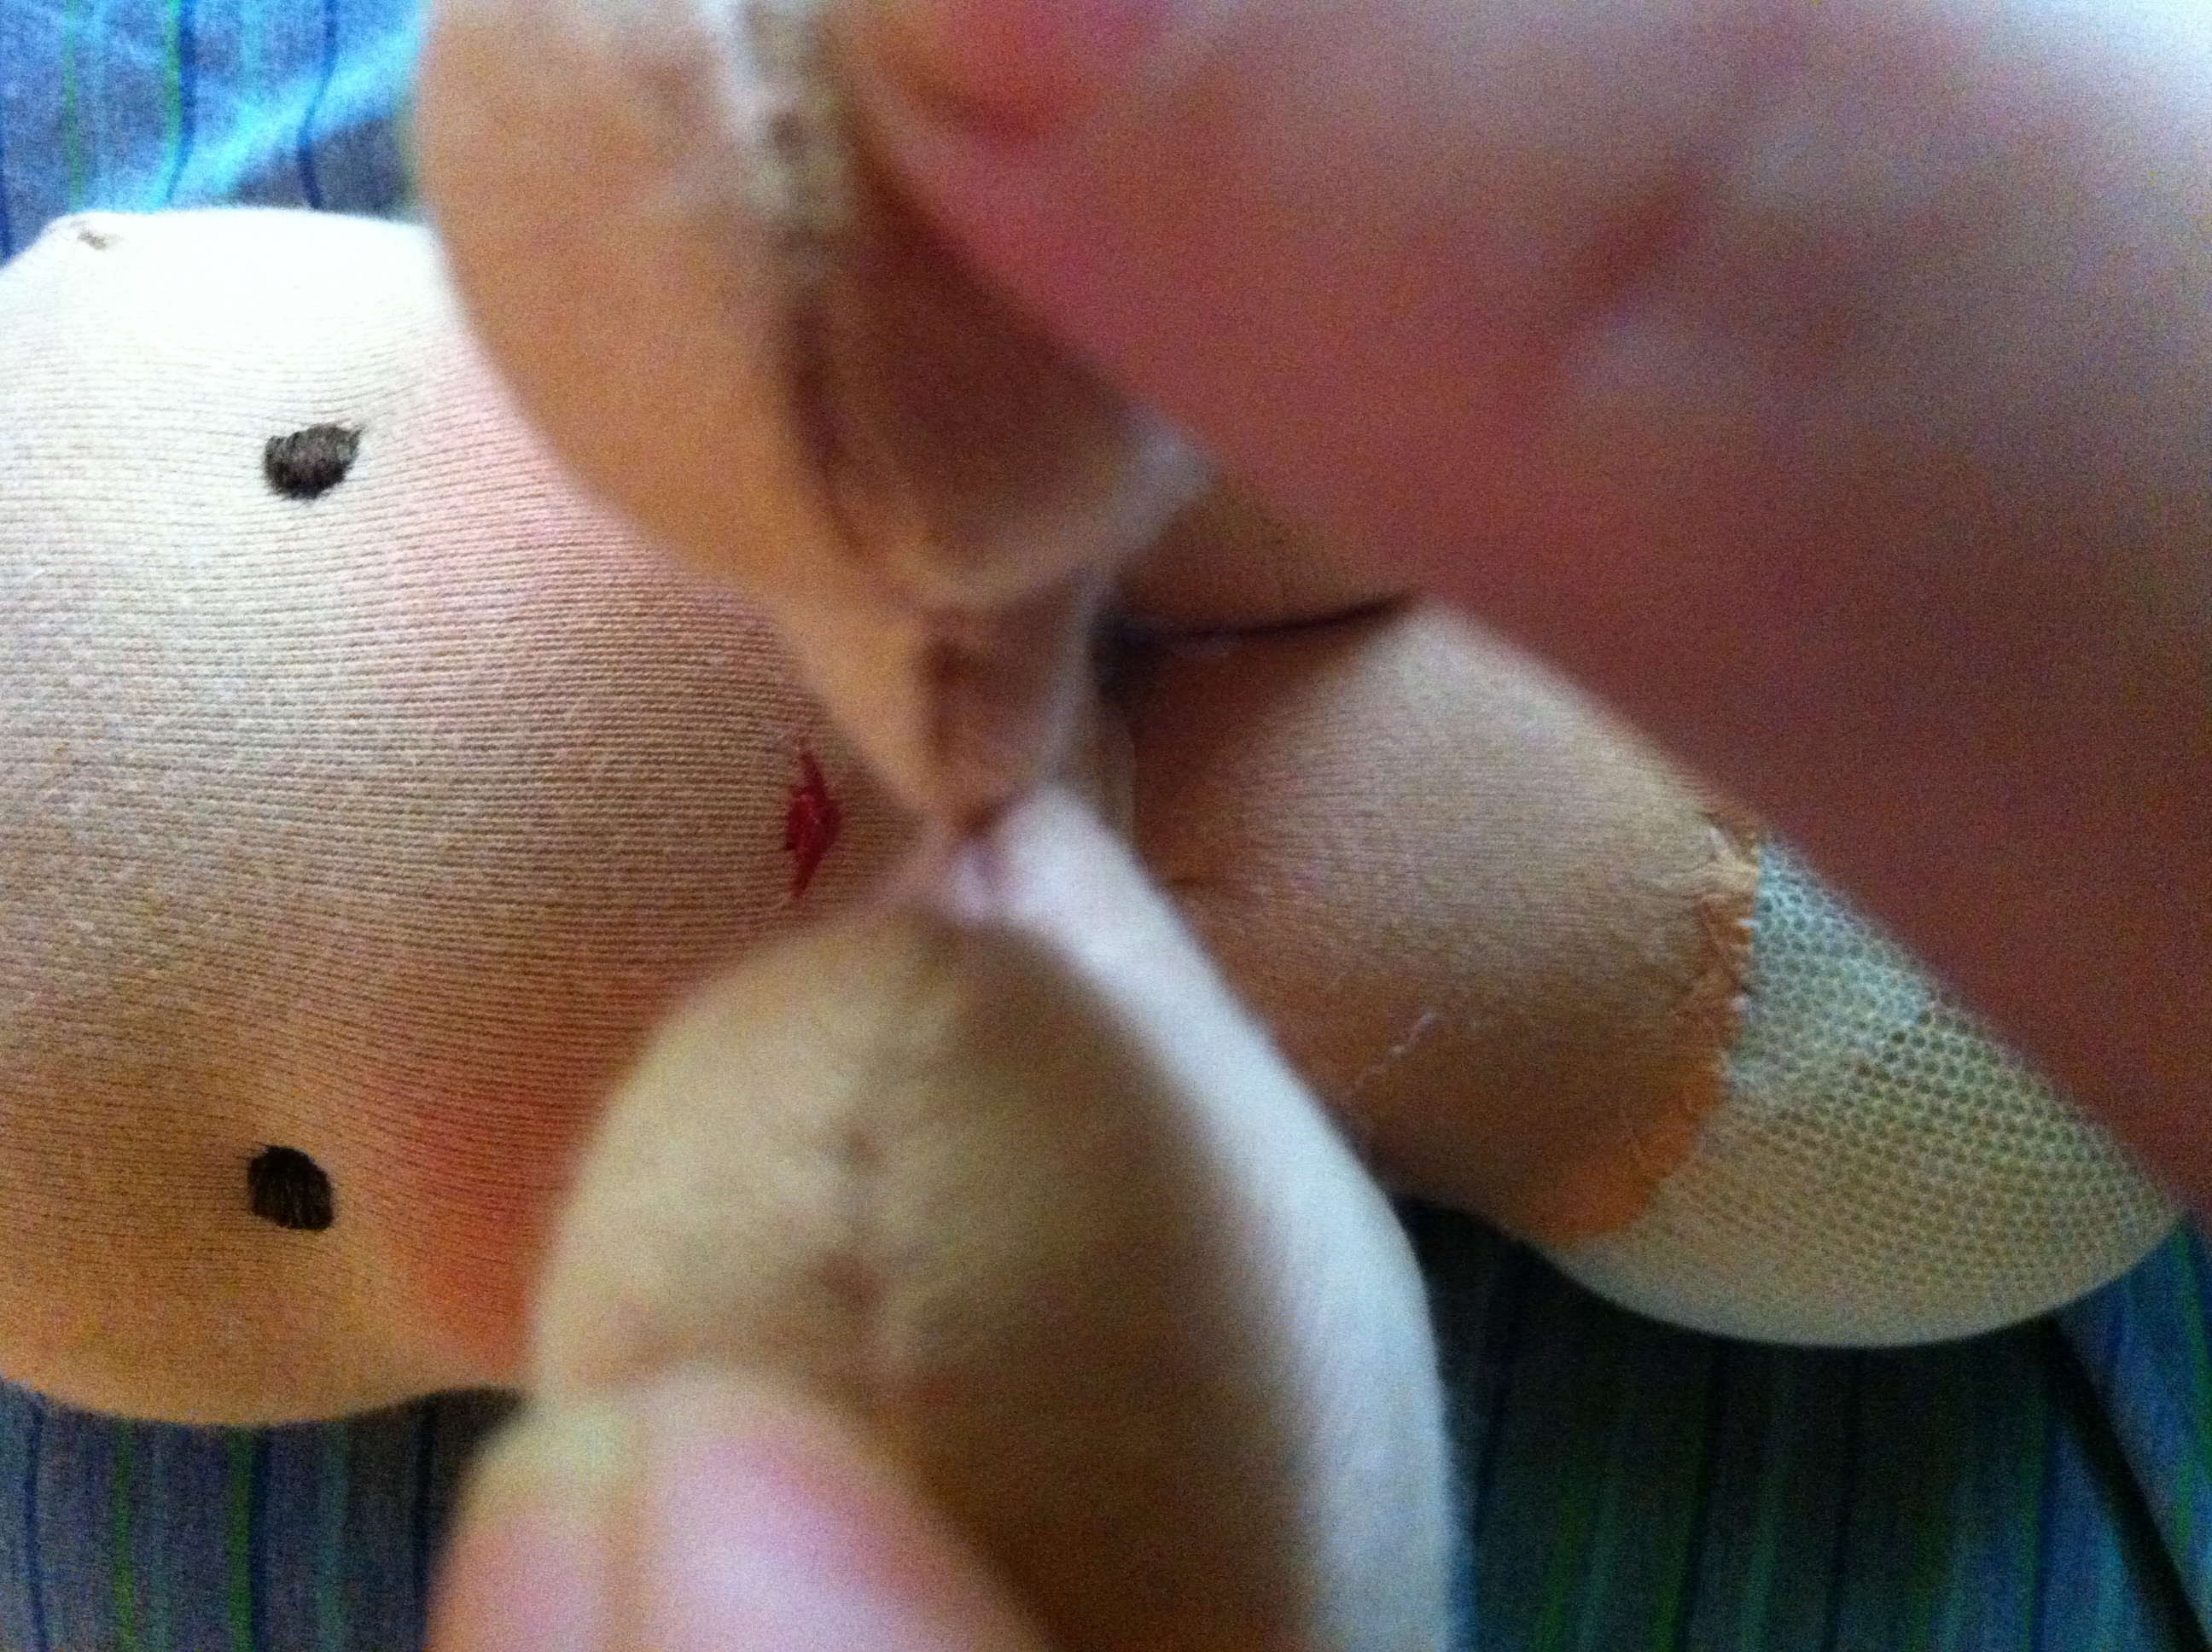
Remember when we embroidered the eyes and mouth? The mouth will guide us when we attach the arms. Before sewing the arms on, we bring the hands together and line them up with the lips. Re-pin the arms as often as you need to to have them alined correctly.

We will be using a great variety of stitches:
-the running/basting stitch
-the back-stitch
the whip-stitch
-the ladder/invisible stitch

Before I assemble the doll I will embroider a little heart on the dolls chest. There are different options, you can embroider, needle felt, or cut out a little fabric heart and sew it on.


Now that you have assembled the doll, it is time to finish the seams.


At this point I already like to add some blush to the cheeks.

Traditional Doll Outfit Pattern

Traditional Doll Outfit Pattern

$ 7.50

This pattern collection includes instructions to create a pattern for a pair of underwear, pants, shirt/dress, footwear. 

Creating patterns to sew a basic doll outfit doesn't have to be difficult. Learn to create simple patterns to dress your traditional Waldorf doll.

The pieces should be loose fitting and easy to handle for a young child. Keep in mind those little hands are just getting started on fine motor skills. If you have trouble getting the right measurement, air on the side of caution and rather use a larger measurement over one that is too small. Also, do not forget to add a seam allowance when cutting your pattern out of fabric. 

Take doll measurements and get started!

View Details

Table of Content - Get to where you need to Go - with one click